

Bigleaf Maple Syrup
/By: Jamie Weaver
Everyone has had a taste of maple syrup from eastern sugar maples, but few people realize a similar syrup can be made from the sap of the bigleaf maple trees that grow here in the pacific northwest (as well as alder, birch, sycamore, hickory, walnut, and even tamarack trees). The process is basically the same, but there are a few notable differences. The main one being the duration of the tapping season. Sugar maples are generally tapped in the spring when the weather has warmed enough to thaw during the day and speed the flow of sap, but before buds start growing on the trees. Due to the much milder winters in the zones where bigleaf maples grow, our syrup season is much longer. One can collect sap from the time the leaves fall off the trees, until the leaves start budding in the spring. Although the best flows seem to happen in January and February.
Tapping
Tapping maples is a fairly simple process involving just a handful of widely available tools and materials. They include:

- A Spile (the spigot-like thing you insert into the tree for the sap to flow through)
- A Drill
- A Drill Bit - sized to fit your spile
- A Container to Catch Sap
- A Tube to Transport Sap to Container (Optional)
The Spile is the specialized part here, but it can easily be improvised. I tend to use a 3/8” nylon tube fitting. They cost about $1.29 and you can get them at any hardware store. You could also hollow out a wooden dowel or use any other tube-like object. The goal is just to provide a spout for the sap to flow through to get it out and away from the tree.

Once you have your materials it is time to find your tree. The ideal bigleaf maple tree is not the biggest one you can find. Older trees tend to have thick furrowed bark that is hard to get through. Younger, smoothed barked trees are your better choice, those ranging from 4 to 18 inches in diameter. Bigleaf maples tend to have multiple trunks growing from the same root system. Likewise, when cut, they send up multiple new shoots from the stump. If of an adequate diameter, these trunks are often good targets because of the more established root system that reaches a greater radius from the tree. Not every tree produces an equal amount of sap. There are a variety of unseen factors and just because one tree isn’t flowing, doesn’t mean the next one over won’t be.
To check a tree to see if it is flowing I like to drill a smaller diameter hole than is necessary to tap the tree. This way I can minimize the size of the wound I leave. If it is flowing, you will know in a matter of seconds as liquid will start to seep from the hole. If so, it’s time to drill the hole for the tap.

When you tap a tree you want to drill a hole about 2 - 2 ½ inches deep with a slight upward angle to help the sap flow out. The cross section of a tree is composed of the dead heartwood cells in the center followed by the living sapwood, then cambium, and finally the bark layers. The hole should go deeper than your spile to provide a collection space for the sap, but not so deep that it goes into the heartwood. Once the hole is drilled I like to pass the drill through a few more times to get out all the woody debris. This helps prevent your spile from clogging. Then it’s time to tap your spile into place. It should be a tight fit to avoid leakage.
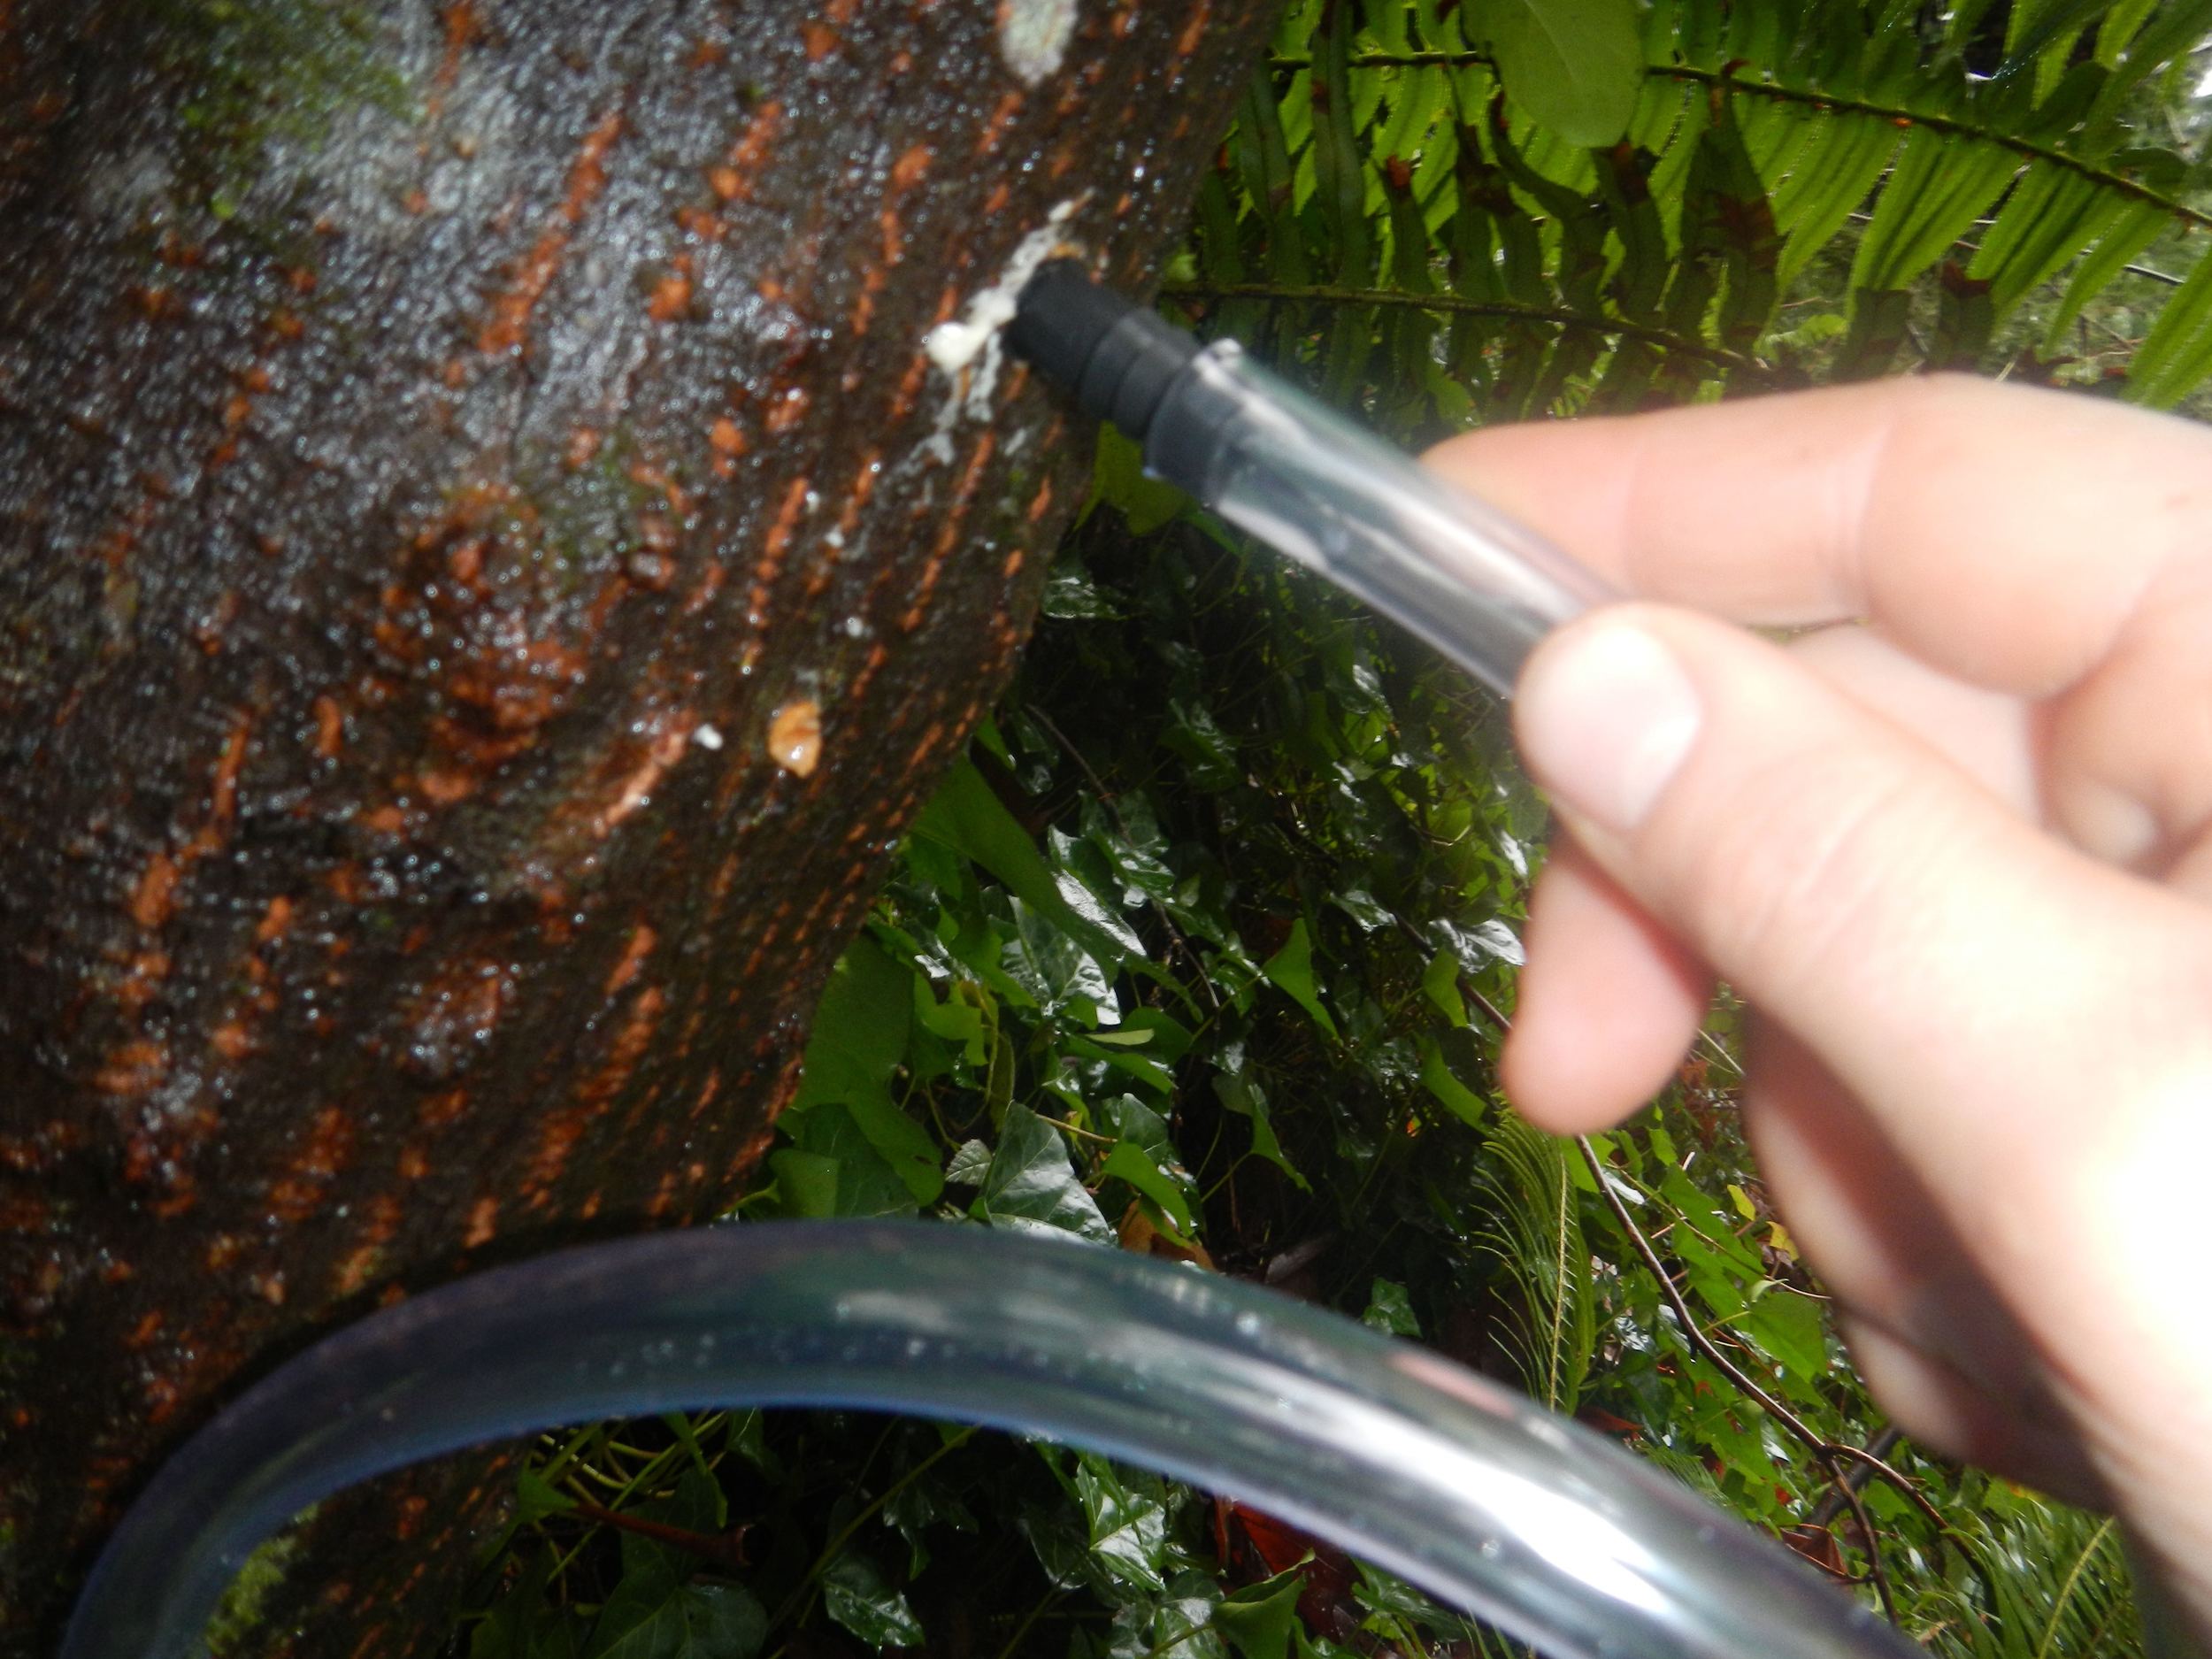
You can just hang a bucket from your spile and call it good, but I like to keep a closed system to keep out debris, insects and other creatures that might be attracted to your sweet liquid. And since I use tube fittings as my spiles, it is easy to slip on a 3/8 inch plastic tube and run it into a jug. I just drill a hole in the top of my container and slide it in.
As sap contains sugar it will spoil if left out too long. I therefore make sure I collect my sap every 2 or 3 days. If there is a good flow a single trunk can produce a gallon of sap or more in 24 hrs, so if your containers are small, you might have to check them more often. I rarely get more than half a gallon in a single day. I consider it a descent flow if I get a drop from the spile every 5 - 8 seconds or less.
Even if refrigerated the sap can turn quickly. Anything I am storing in the fridge I bring to a boil every few days to keep from spoiling. I also taste my sap before combining any 2 containers to make sure it hasn't started to go bad, that way I don't ruin the whole batch.
Making Syrup

Sap is considered syrup when it is 66.5% sugar. The sap however starts out at about 2% sugar. The ratio of sap to syrup ends up being about 43:1. For every 43 ounces of sap you collect you end up with about 1 once of syrup. This means you need to drastically reducing your sap collection. This is best done by boiling it outside or somewhere with a good venting system. Woodstoves work great, and if you have one in your house you can just set your pot of syrup on top and have it passively cook down as well as humidify your house. If your house already contains a lot of moisture, like mine, this might not be the best choice. I use a 2 burner propane camp stove that I can just set up outside and forget about for awhile. The boiling process takes time and if I have a good volume of liquid I can walk away for a full 2 hours and not worry about it. The wider your pan the more surface area you create for evaporation to occur, speeding the process. I use this rectangular steel tray which holds about 1 ½ gallons.

Once I have a few gallons of sap saved up I like to boil it down to fit into a much smaller container then put it in the freezer until I am ready to do my final processing. The final processing takes time and attention, so I would rather do it just once or twice a season. I can boil 3 gallons of sap down to a pint and I will still have a good margin of error before it becomes syrup (one gallon of sap will yield about 3 ounces of syrup). By pre-condensing the liquid like this, I can keep my fridge from filling up with gallon sized jugs.
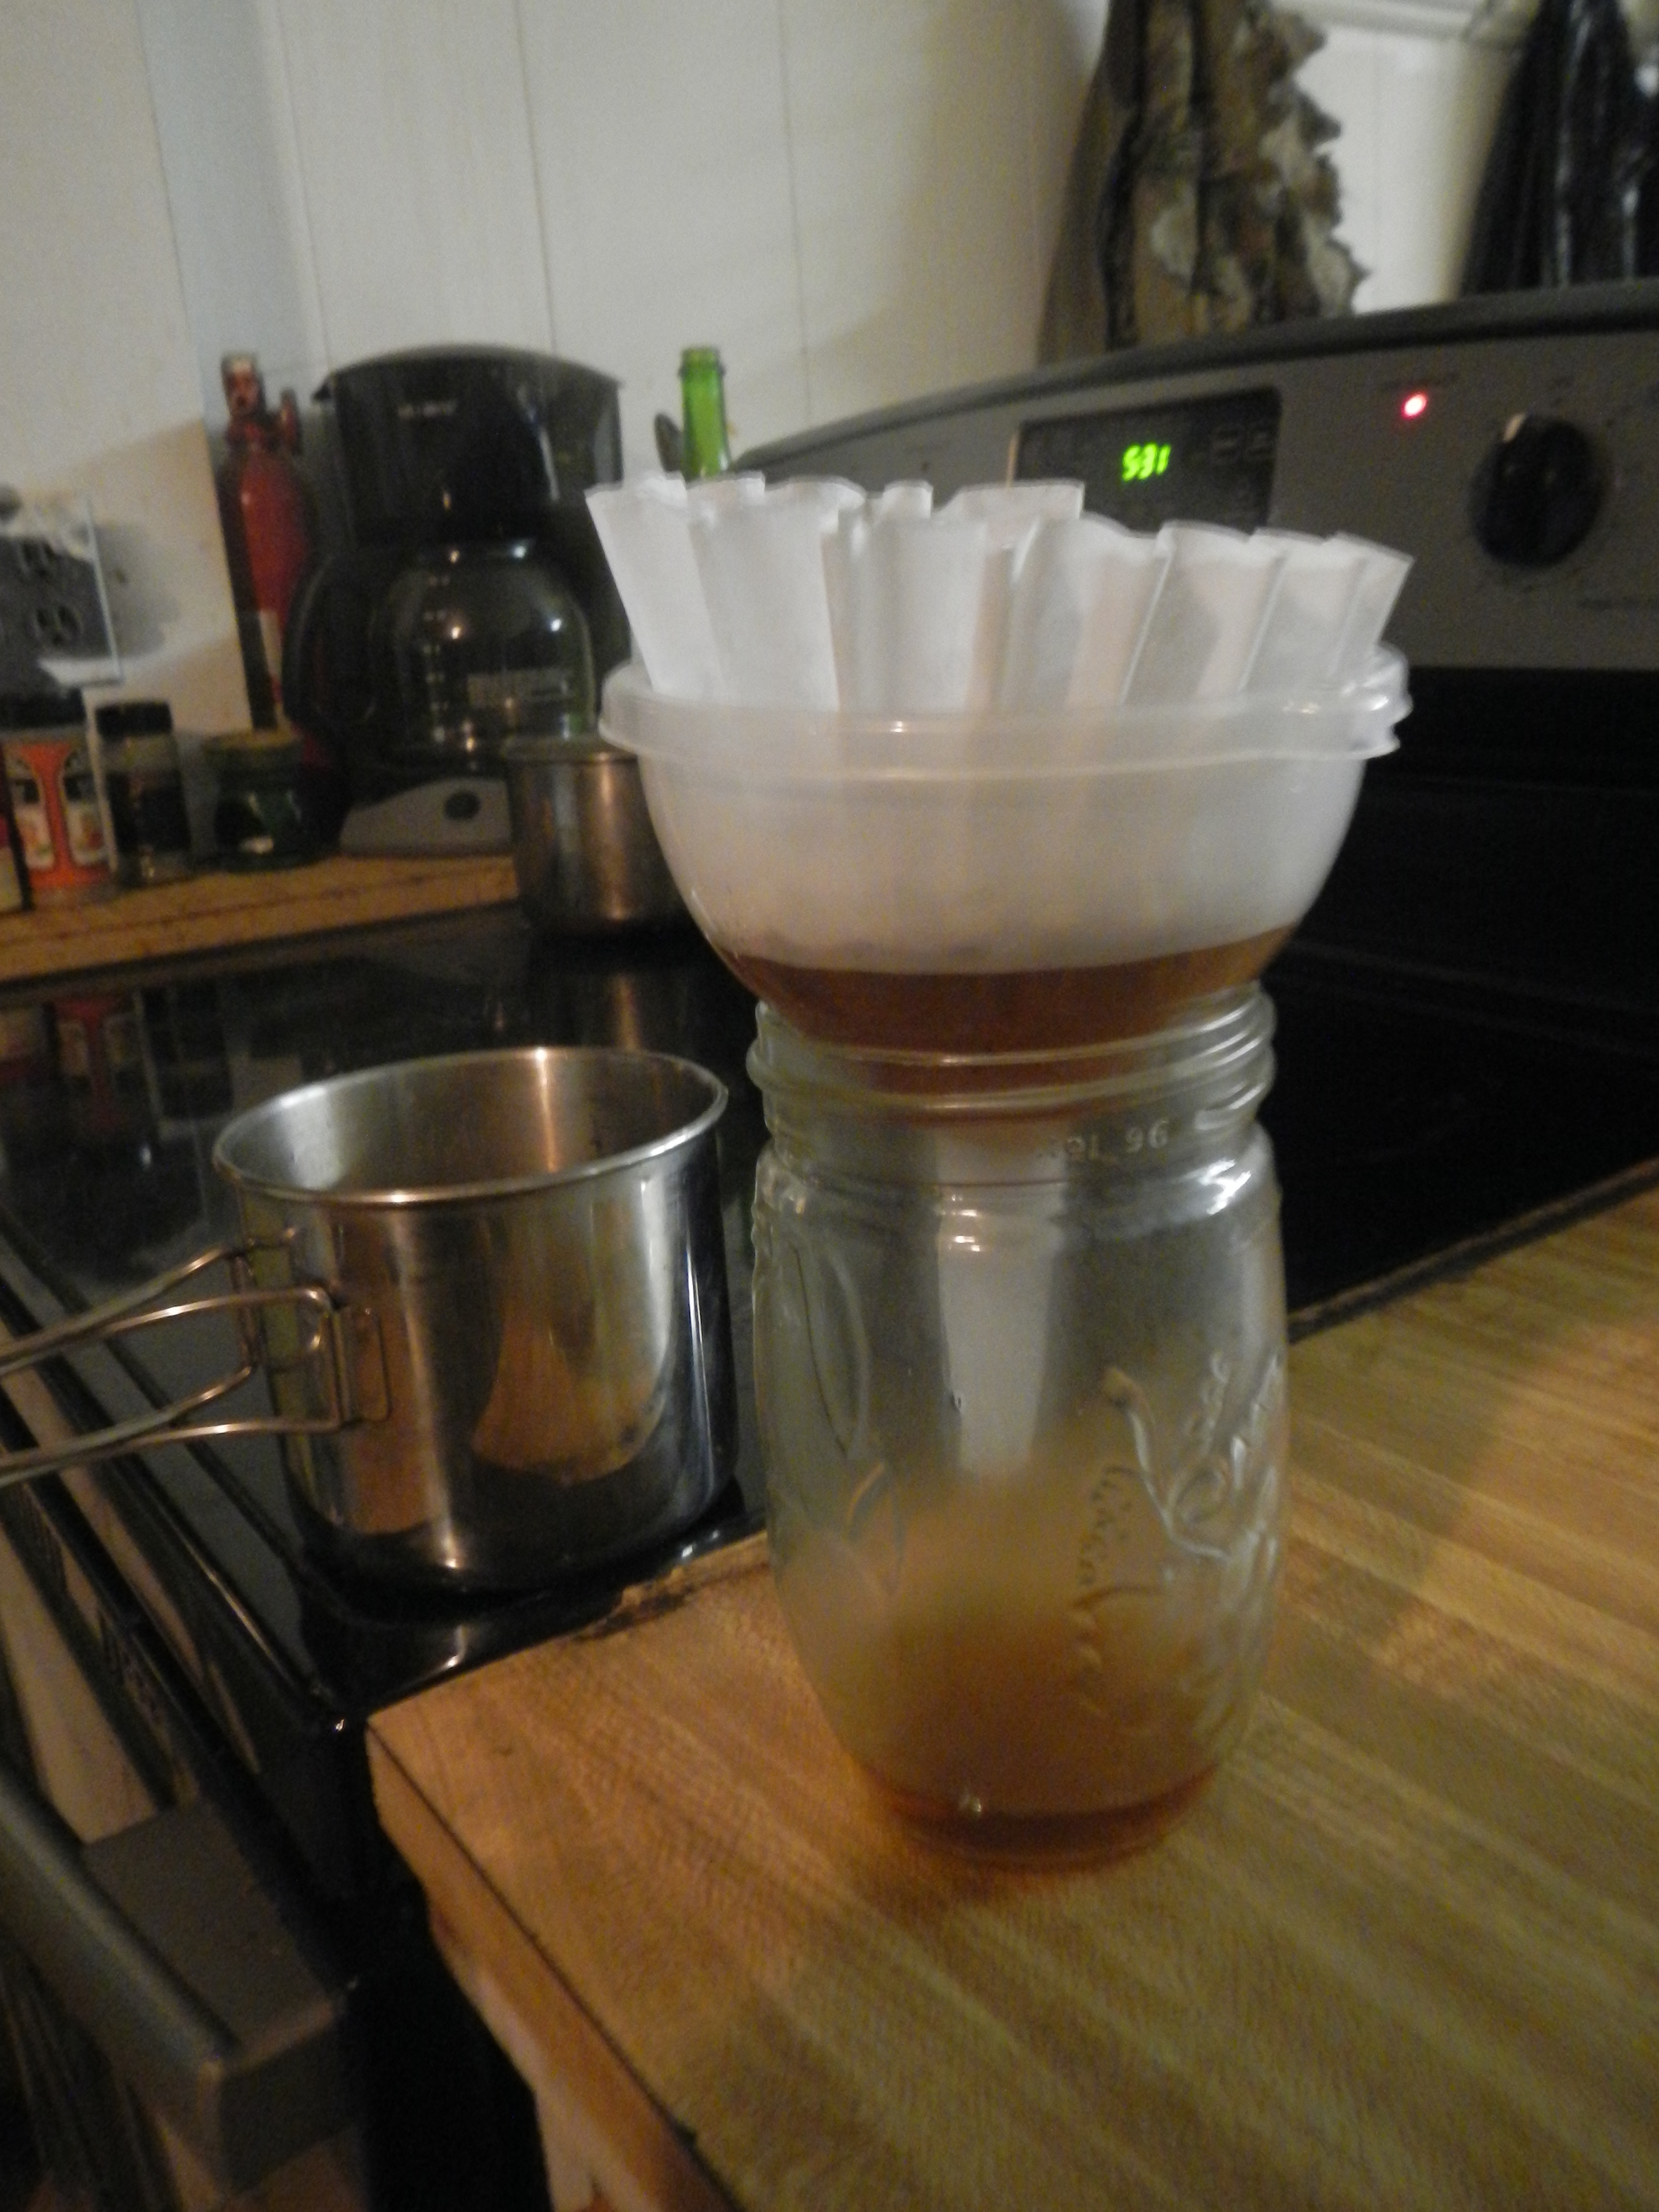
This is also when I like to filter the sap for the first time. A coffee filter will work fine to get out those little floaties and leaf particles that got in your sap.
When I am ready for my final processing I thaw out my frozen sap and bring it back to a boil. Your sap has a much higher sugar content at this stage so you must keep an eye on it to make sure it doesn’t burn.

The boiling temperature of syrup is 7 degrees higher than water. So, the best way to know you have reached your goal of 66.5% sugar is with a thermometer. The boiling temperature of water can change daily based on pressure, so you will want to boil a pot of water next to your syrup to check the temperature. When your syrup seems like it is getting close to done insert your thermometer and see where you are at. Waiting for those last few degrees can take an impressively long-time, so be patient. If you stop too early the resulting syrup will spoil more easily and if over-condensed the syrup will crystallize.
Once you’ve reached your target temperature you are just about done. You just need to do one more filtering. As you boil, the natural minerals in the sap solidify into “sugar sand”. Removing this sand improves the flavor and texture. You can buy a syrup specific filter, but I find that coffee filters work fine for small batches. The filter may clog several times in the filtering process and need to be replaced, but they are cheap and easily accessible. Filter the syrup while it is still hot since it will thicken as it cools, making the process more difficult.

Then there you have it! Your own homemade Maple Syrup.
Interested in getting some hands-on experience processing syrup as well as a myriad of other wild foods? Check-out our Hunter-Gatherer Immersion Course. This course starts the last weekend of August and meets 1 weekend per month for 10 months.