

Some Tips on Bow-Making
/By: Jamie Weaver
I have been playing with some different methods for working bow staves down to the floor tillering phase, and I wanted to share what I have learned. I personally prefer using hand tools throughout the whole bow-making process, which can lengthen the time significantly compared to using a ban saw to cut out a blank. However, where it use to take me most of a day to rough out the basic shape of a bow using a hatchet, I’ve found a method that brings that time down to about half an hour.
The method I use to use involved chopping stop cuts into the length of the bow to the depth that I wanted to remove material, and then chopping out that mass.

The stops prevent splits from going deeper than you want. After repeating this process many times, you eventually get the stave thinned down to where it starts to flex.
I still find this to be a very useful technique for starting the floor tillering process and roughing out the handle and tips, but I have found a much quicker process for getting off the initial bulk of material.
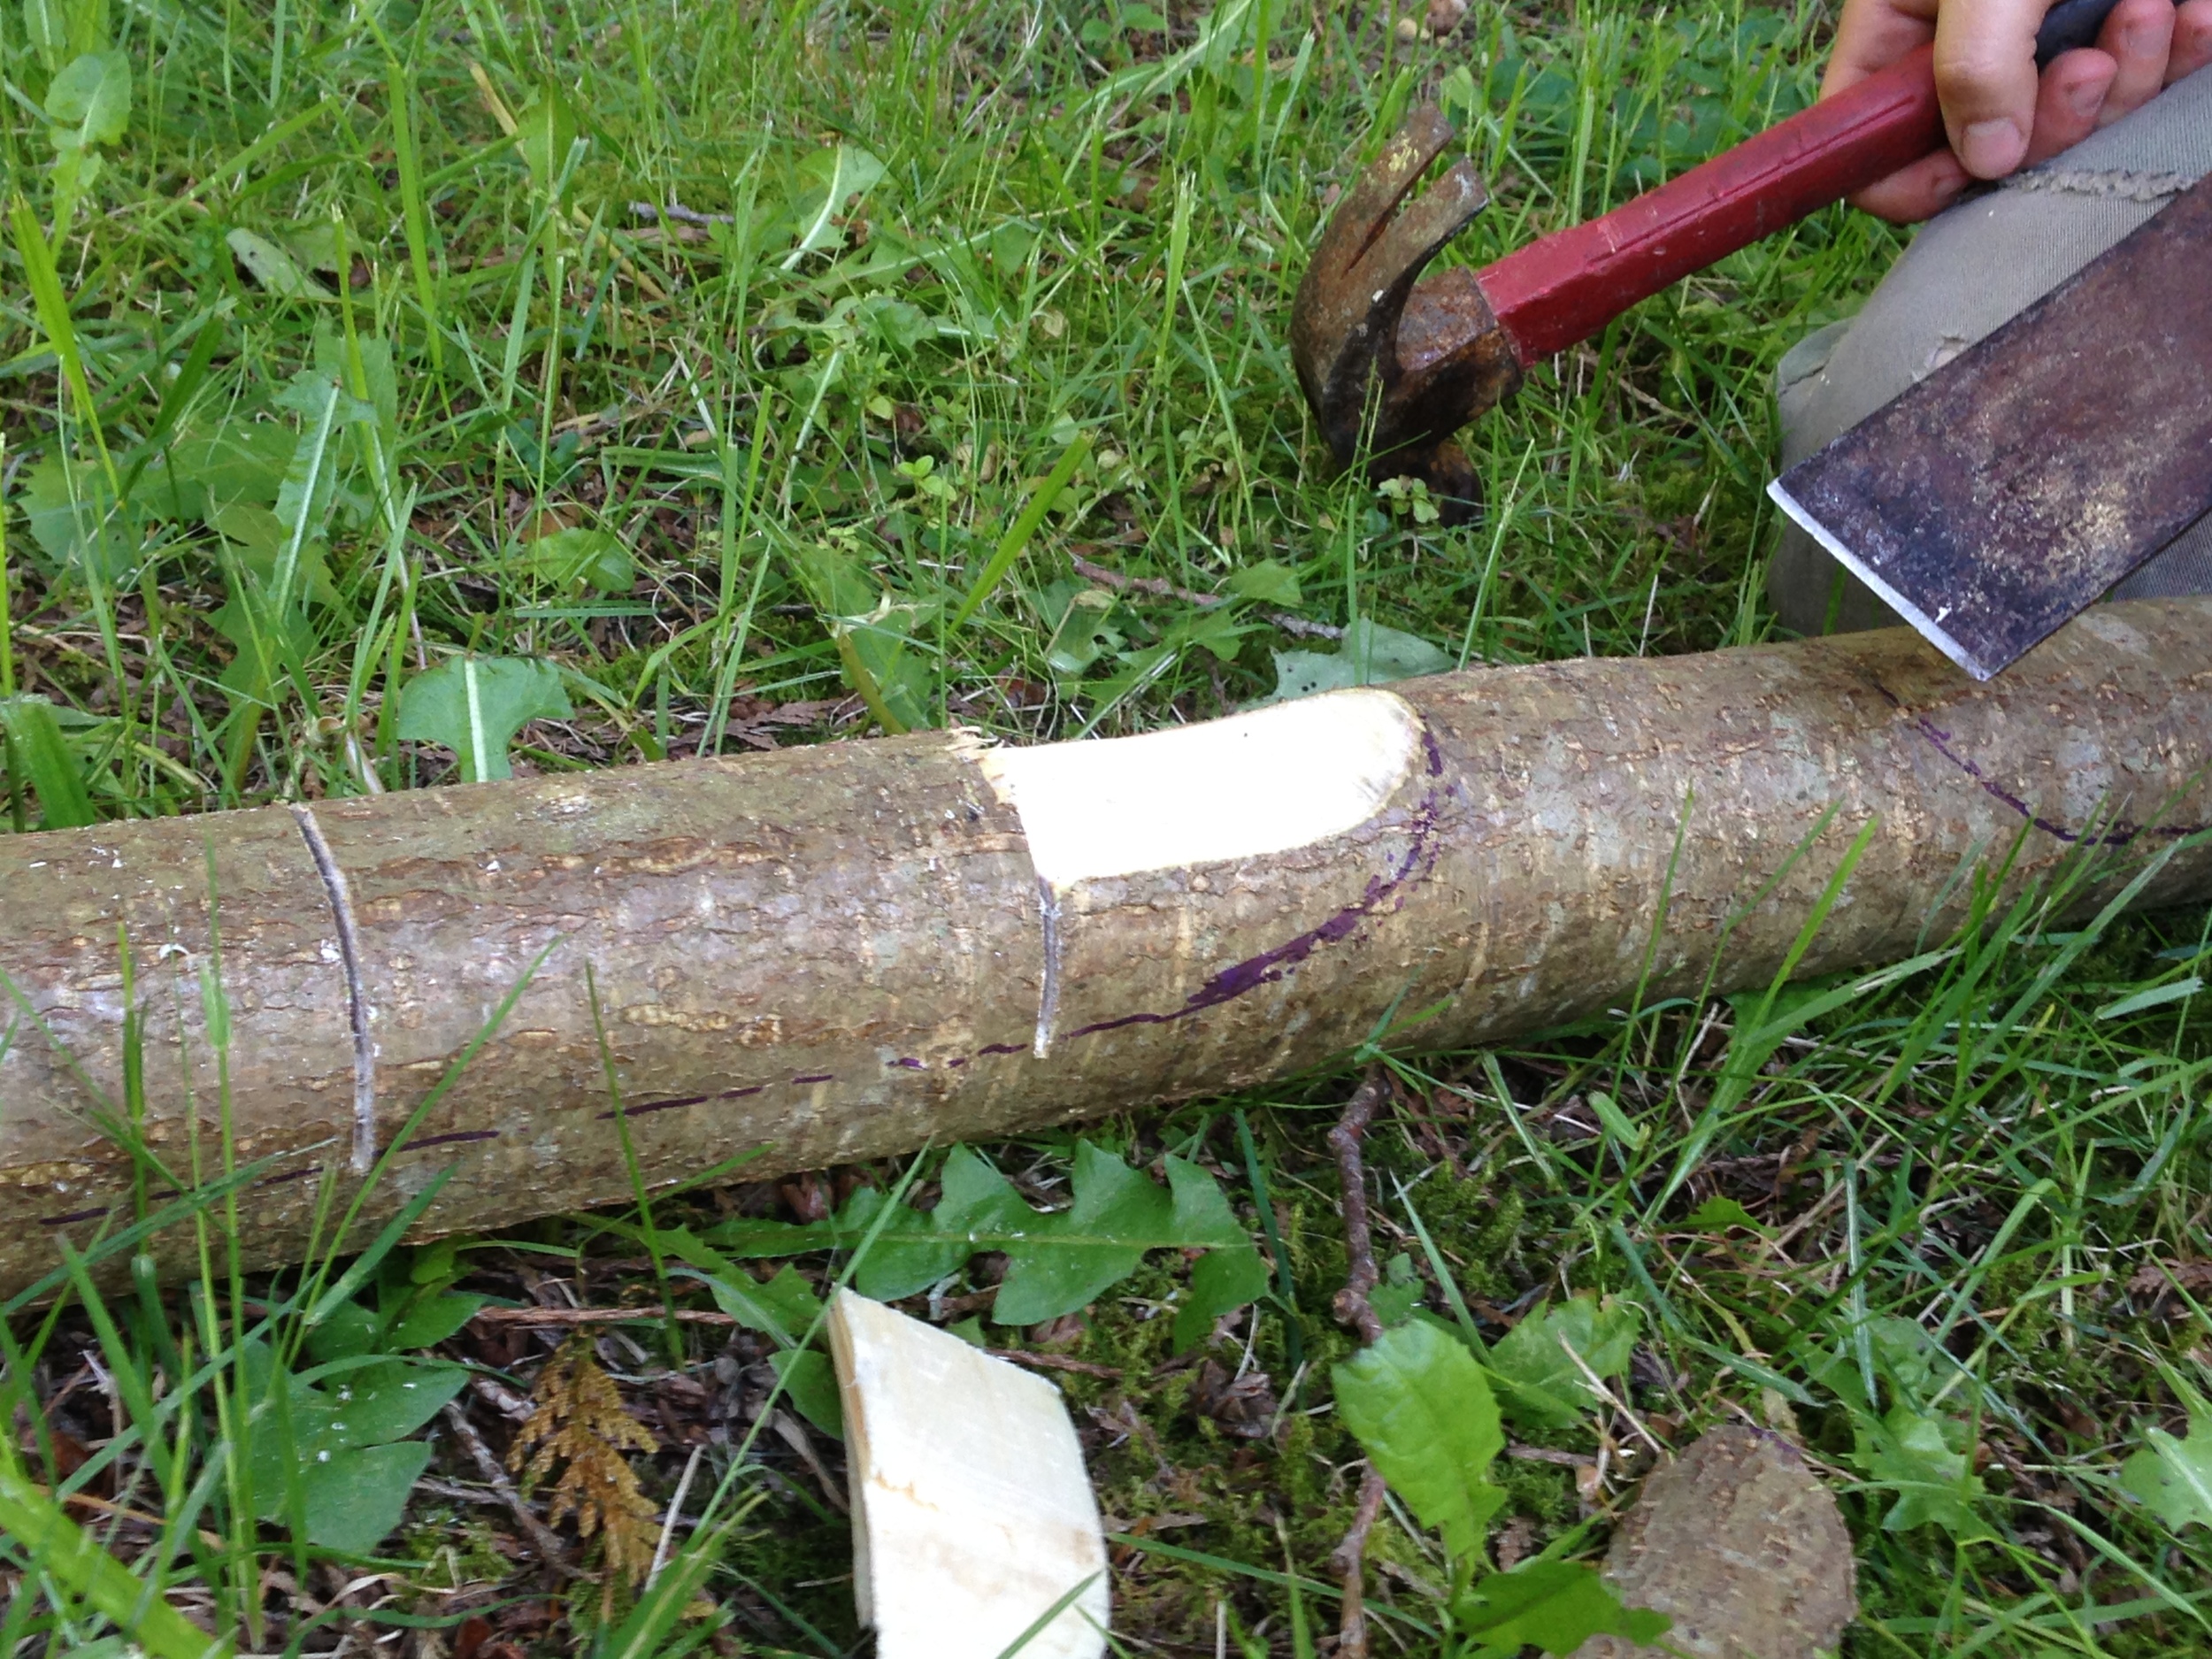
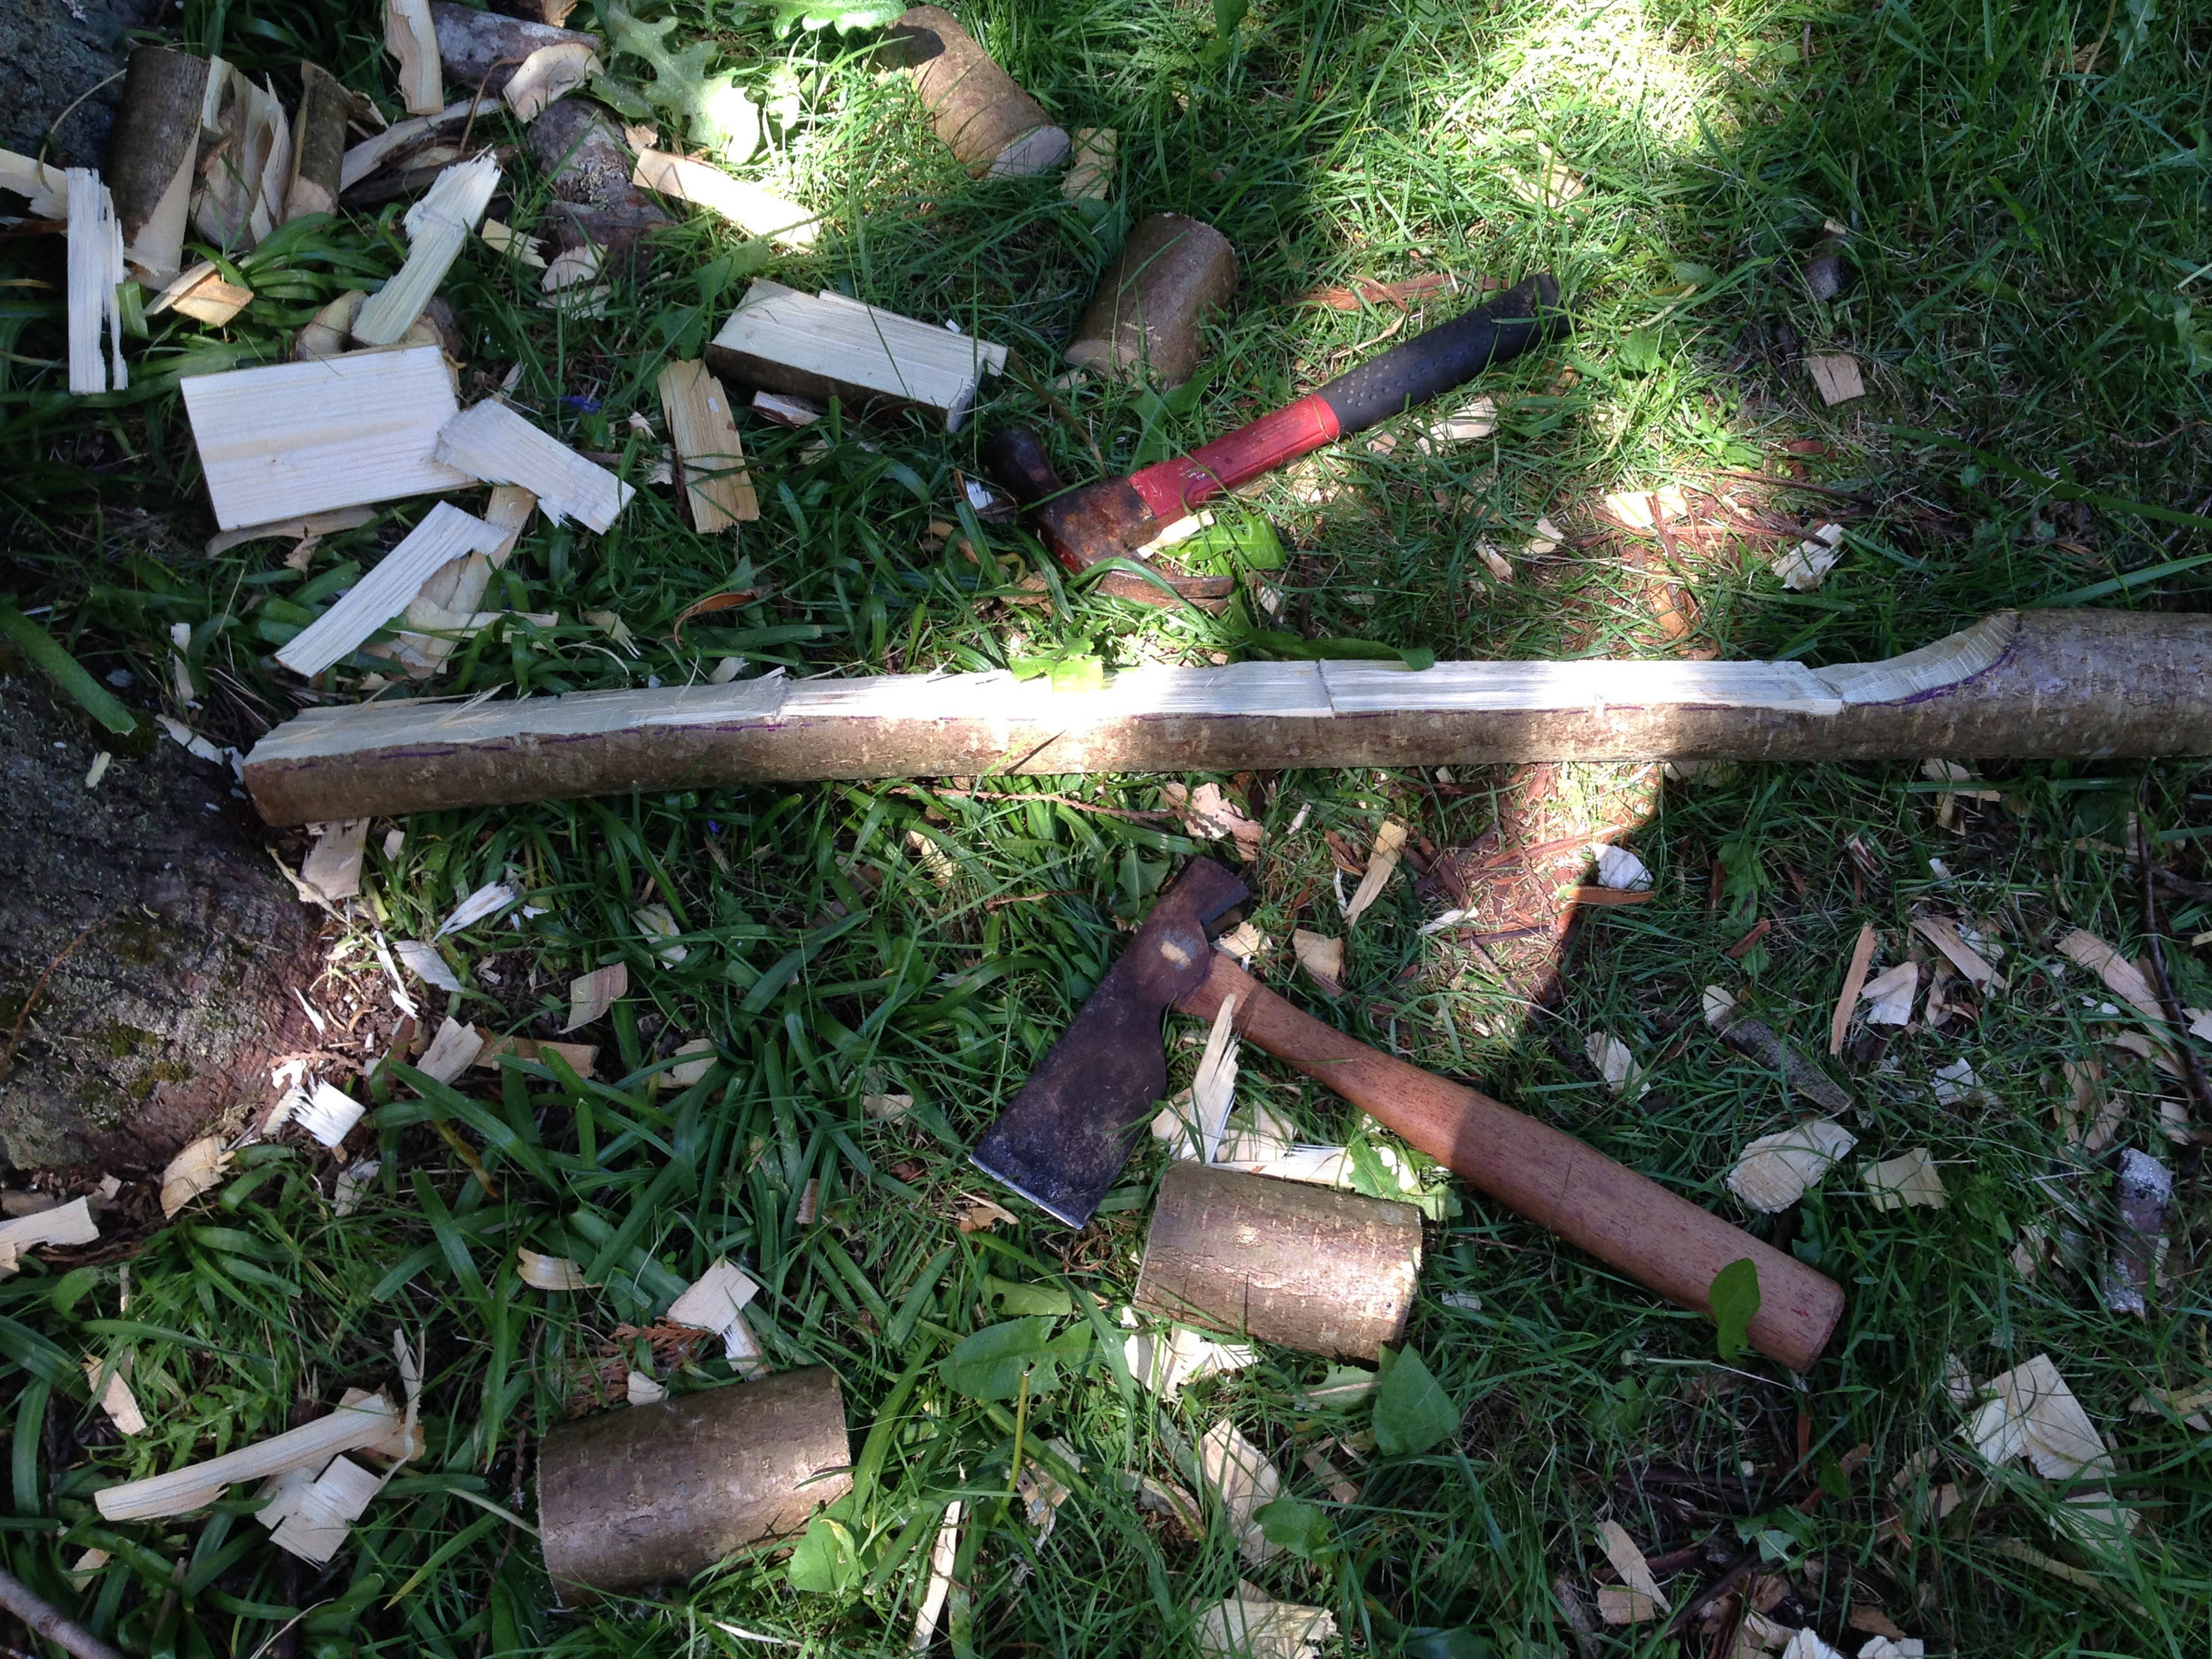
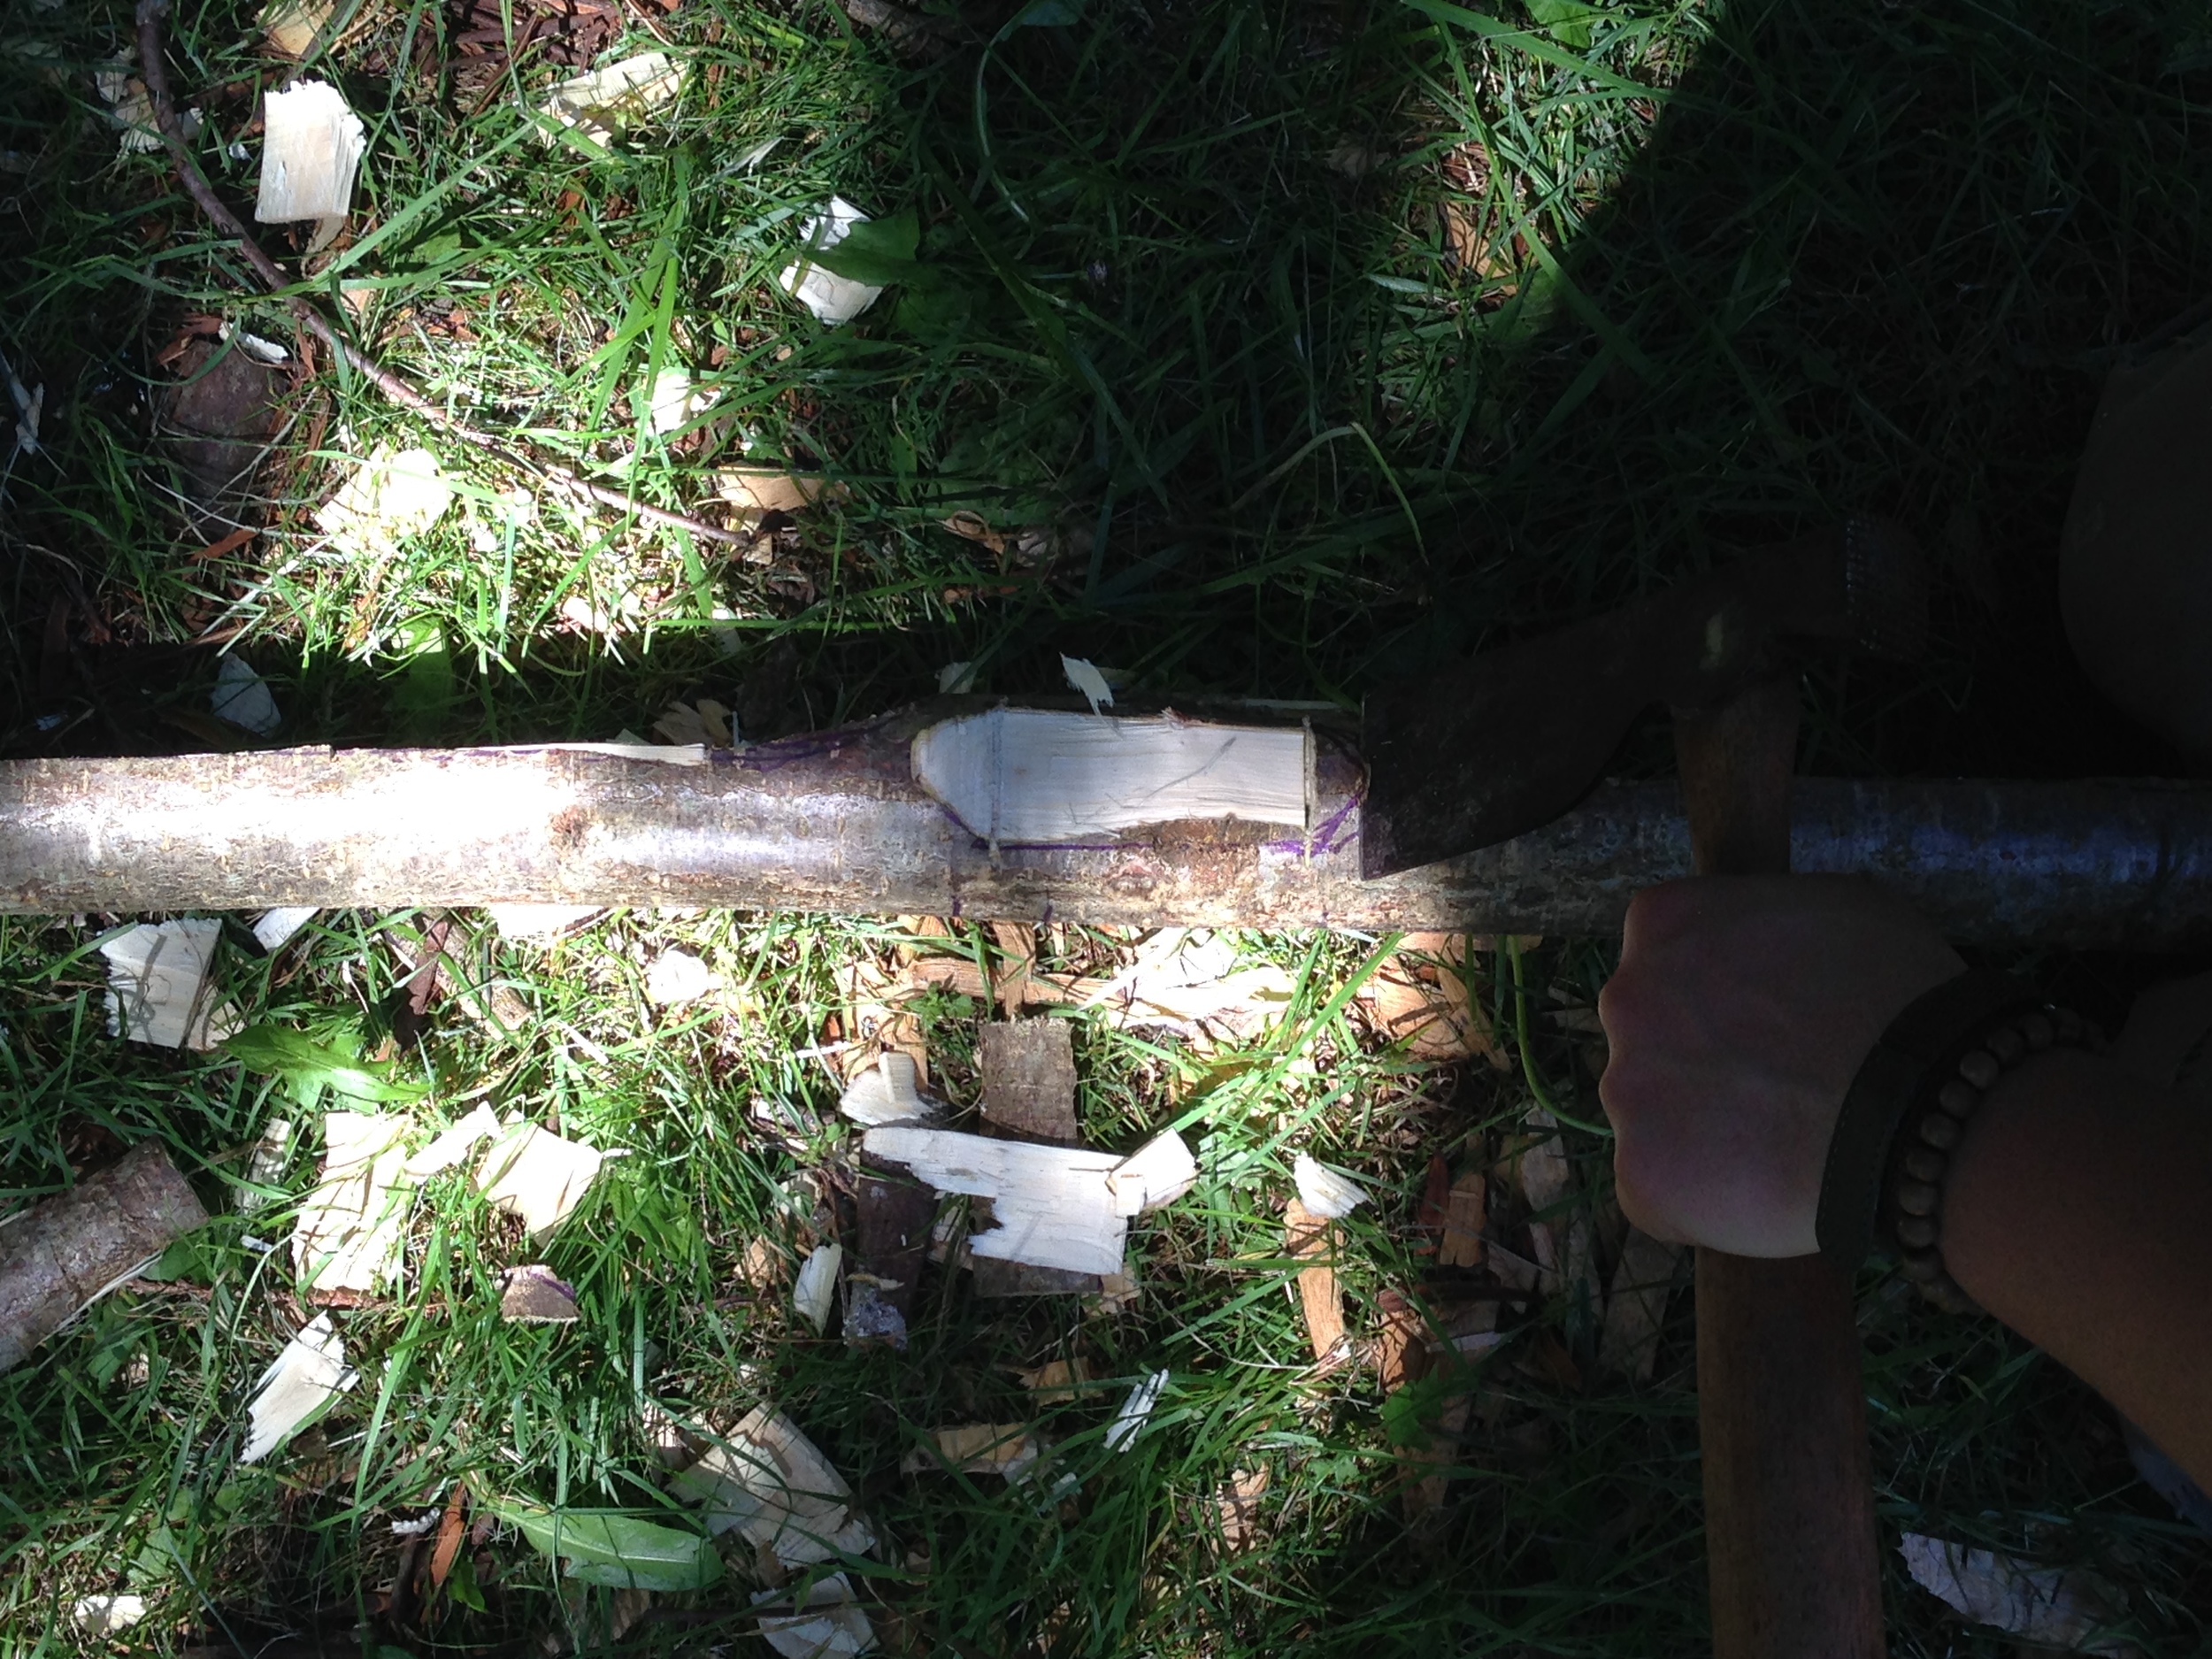
Instead of chopping the stops in, which is imprecise and only goes so deep, I found that I can use a hand saw to saw the stops in to the exact depth I want.
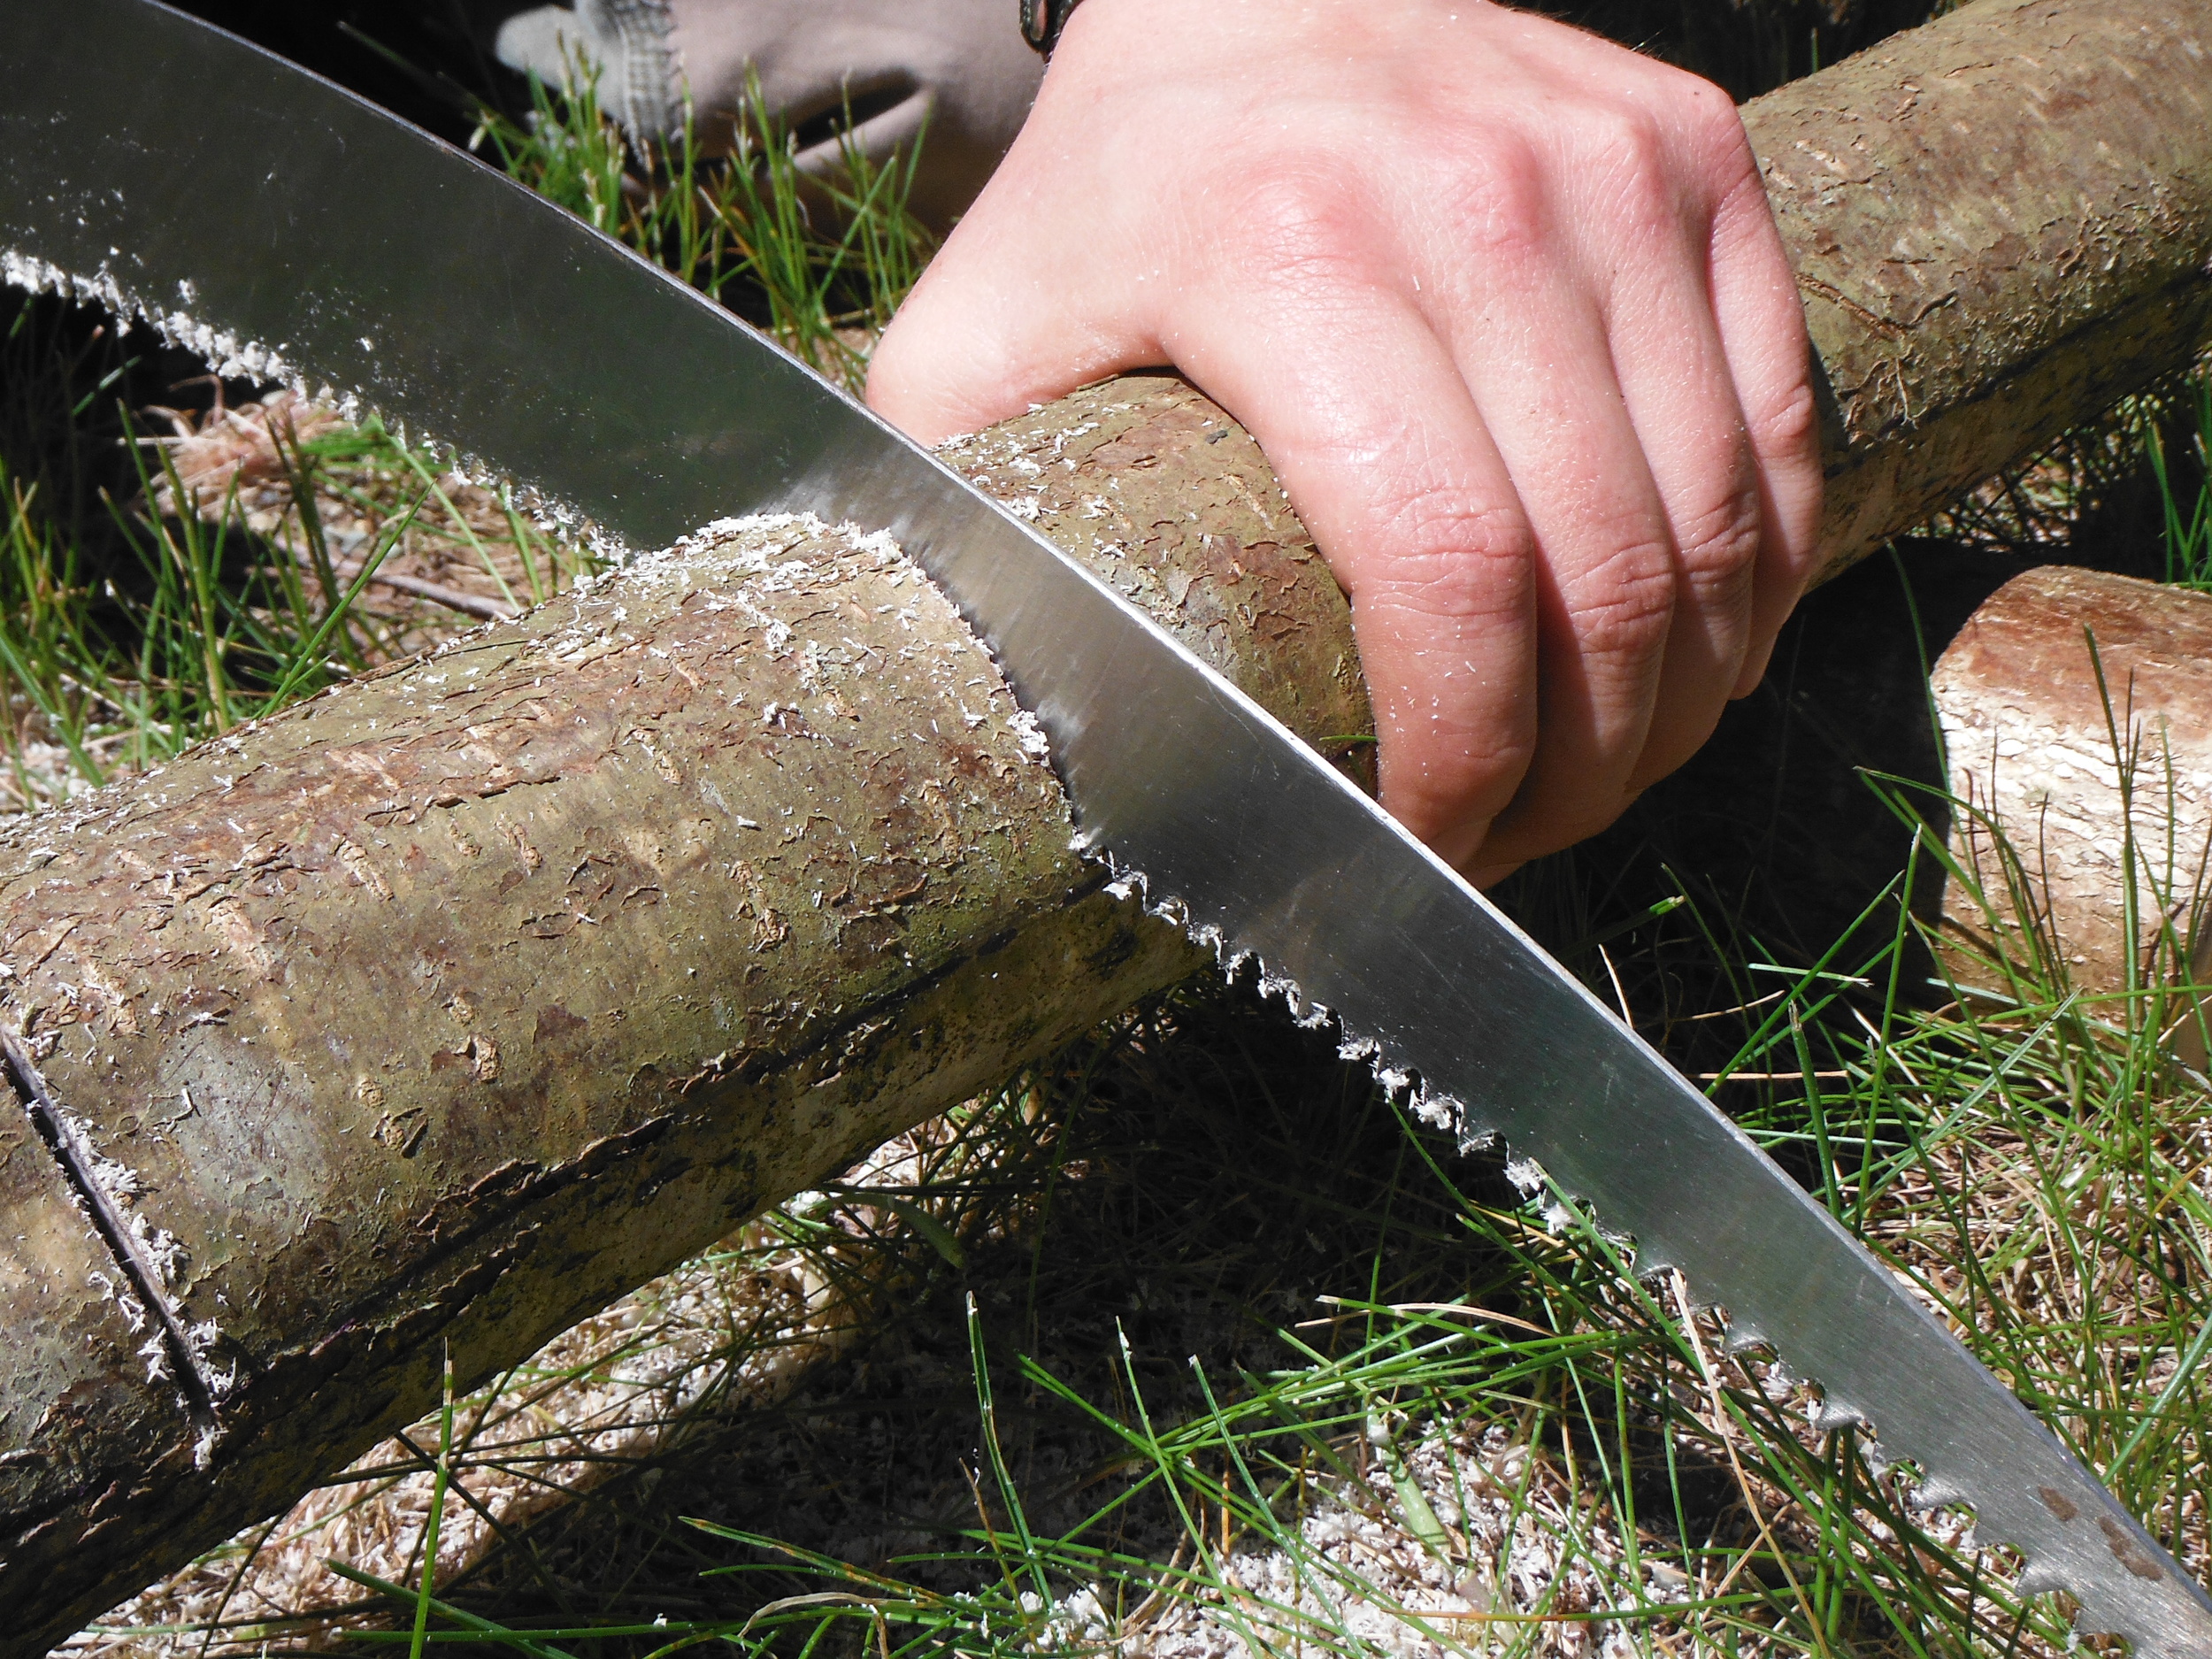
From there I can essentially chisel the unwanted chunks off in blocks. It takes just a few taps and the whole piece will come off, much faster than my former chopping method.

This whole process takes me less than an hour and I can easily prep several staves in a day.
The staves I am working on in these pictures are fairly small in diameter, just about 3 inches. Therefore I am only getting one bow from each of them, which is why I did not split the stave before hacking at it. However, I wanted to make it clear that both the methods I described work fine on split staves.
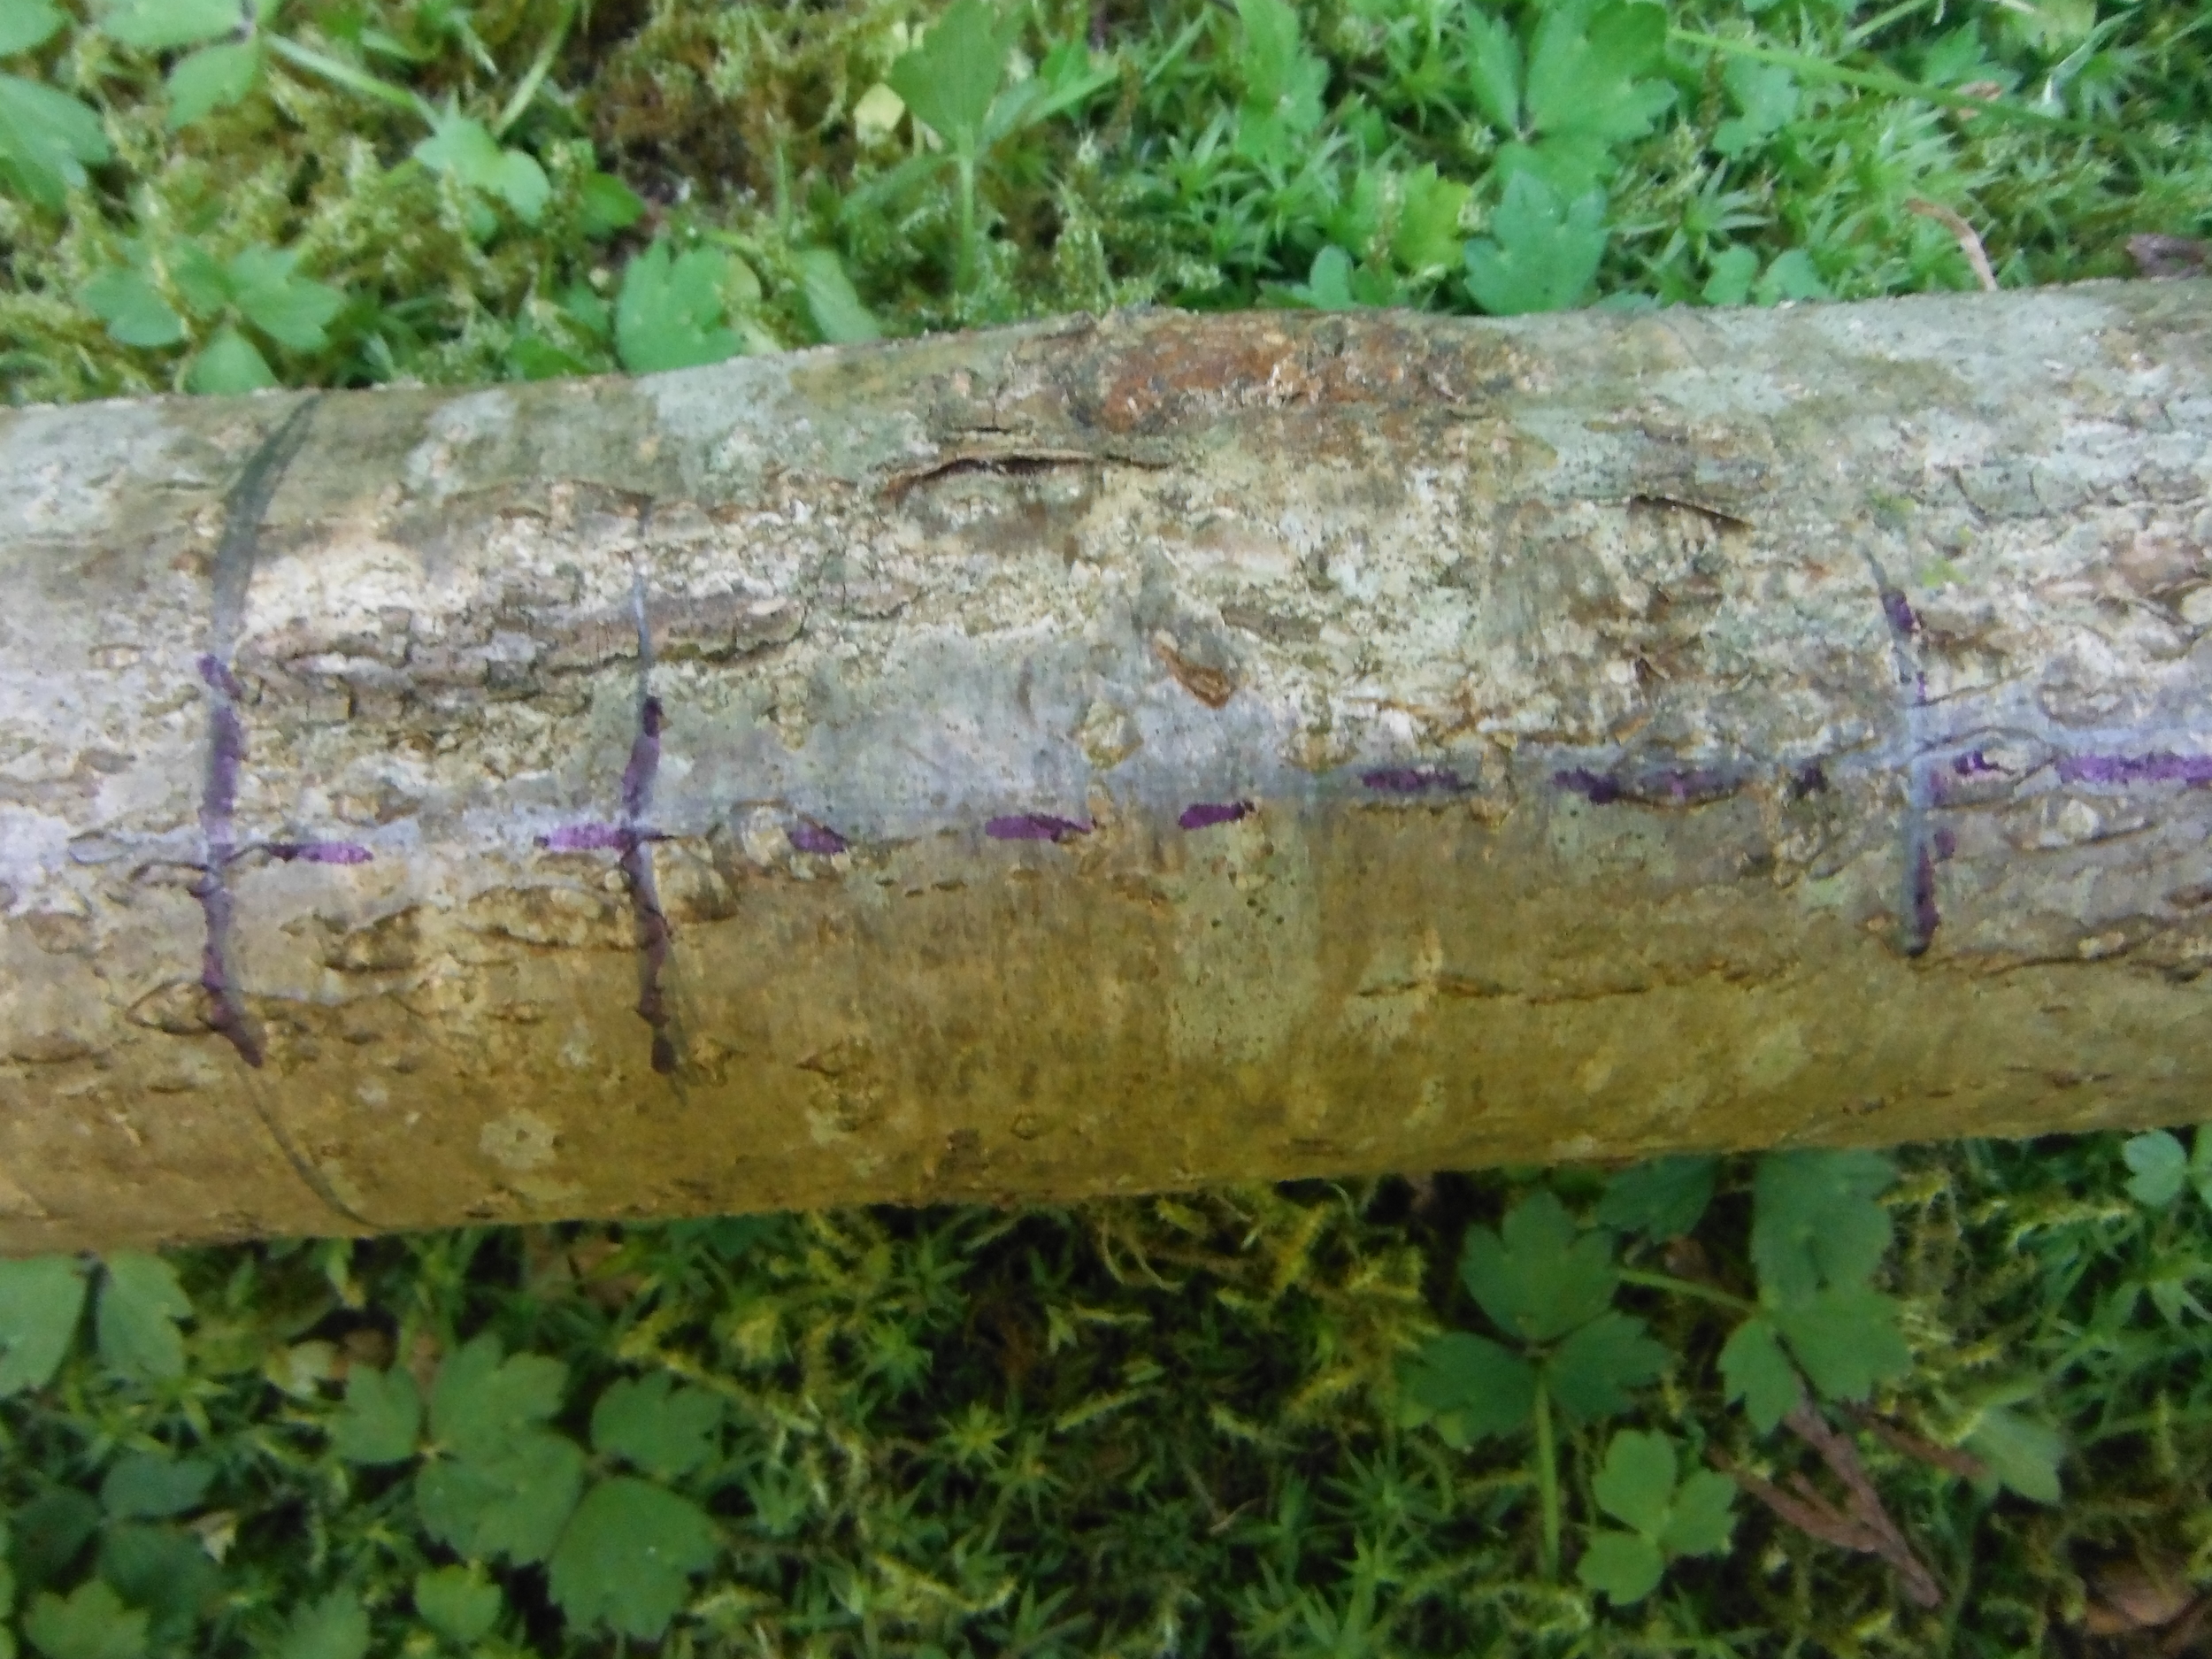
But let me get into a little more detail. The first thing I do when I get a fresh stave, is mark out the back of my bow.
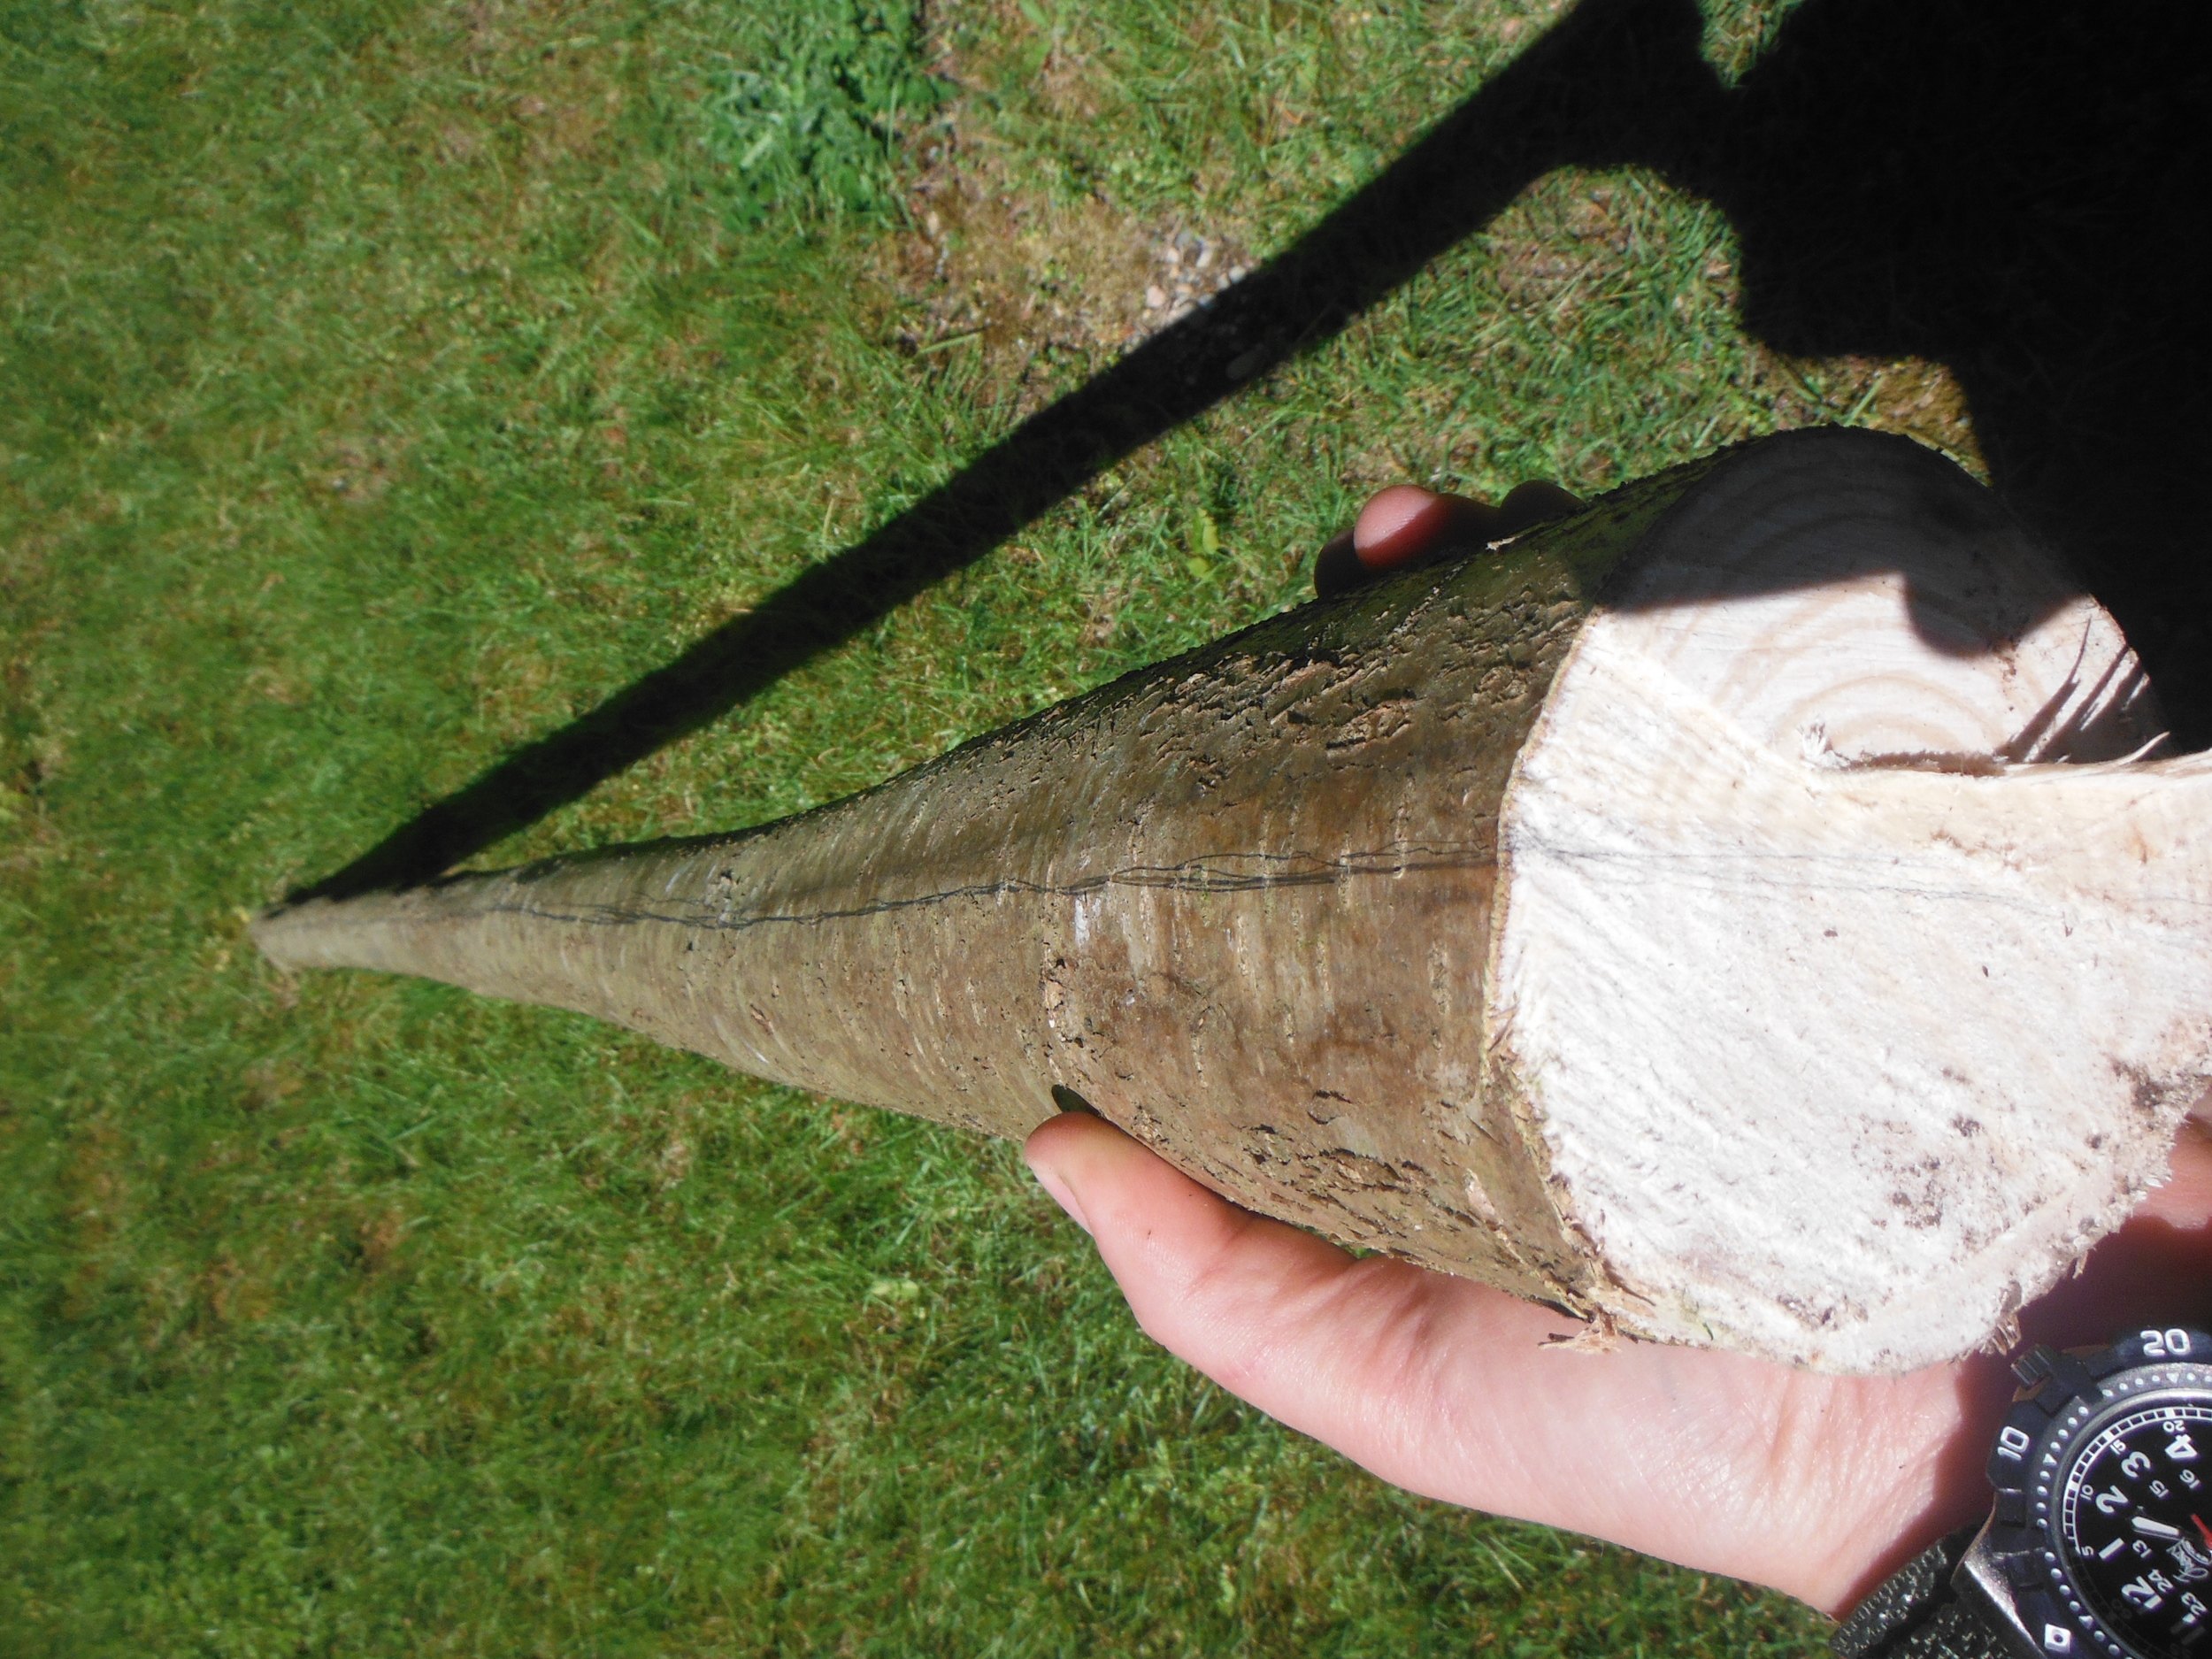
For me this is generally on the inside of the curve if there is one, giving my bow some natural reflex.
Then I figure out where my handle is going to be by measuring the center of the stave then marking one inch above the center and three inches below. This gives me a four inch handle and makes the top limb two inches longer than the lower limb.
This is just my preference. Since you shoot your arrow from the top of the handle (not the center), this method puts the arrow more towards the center of the bow than if your handle was centered.
I can then mark out the fades and the depth I plan to cut my limbs. I general have my fades come another two inches down the limb from the handle.
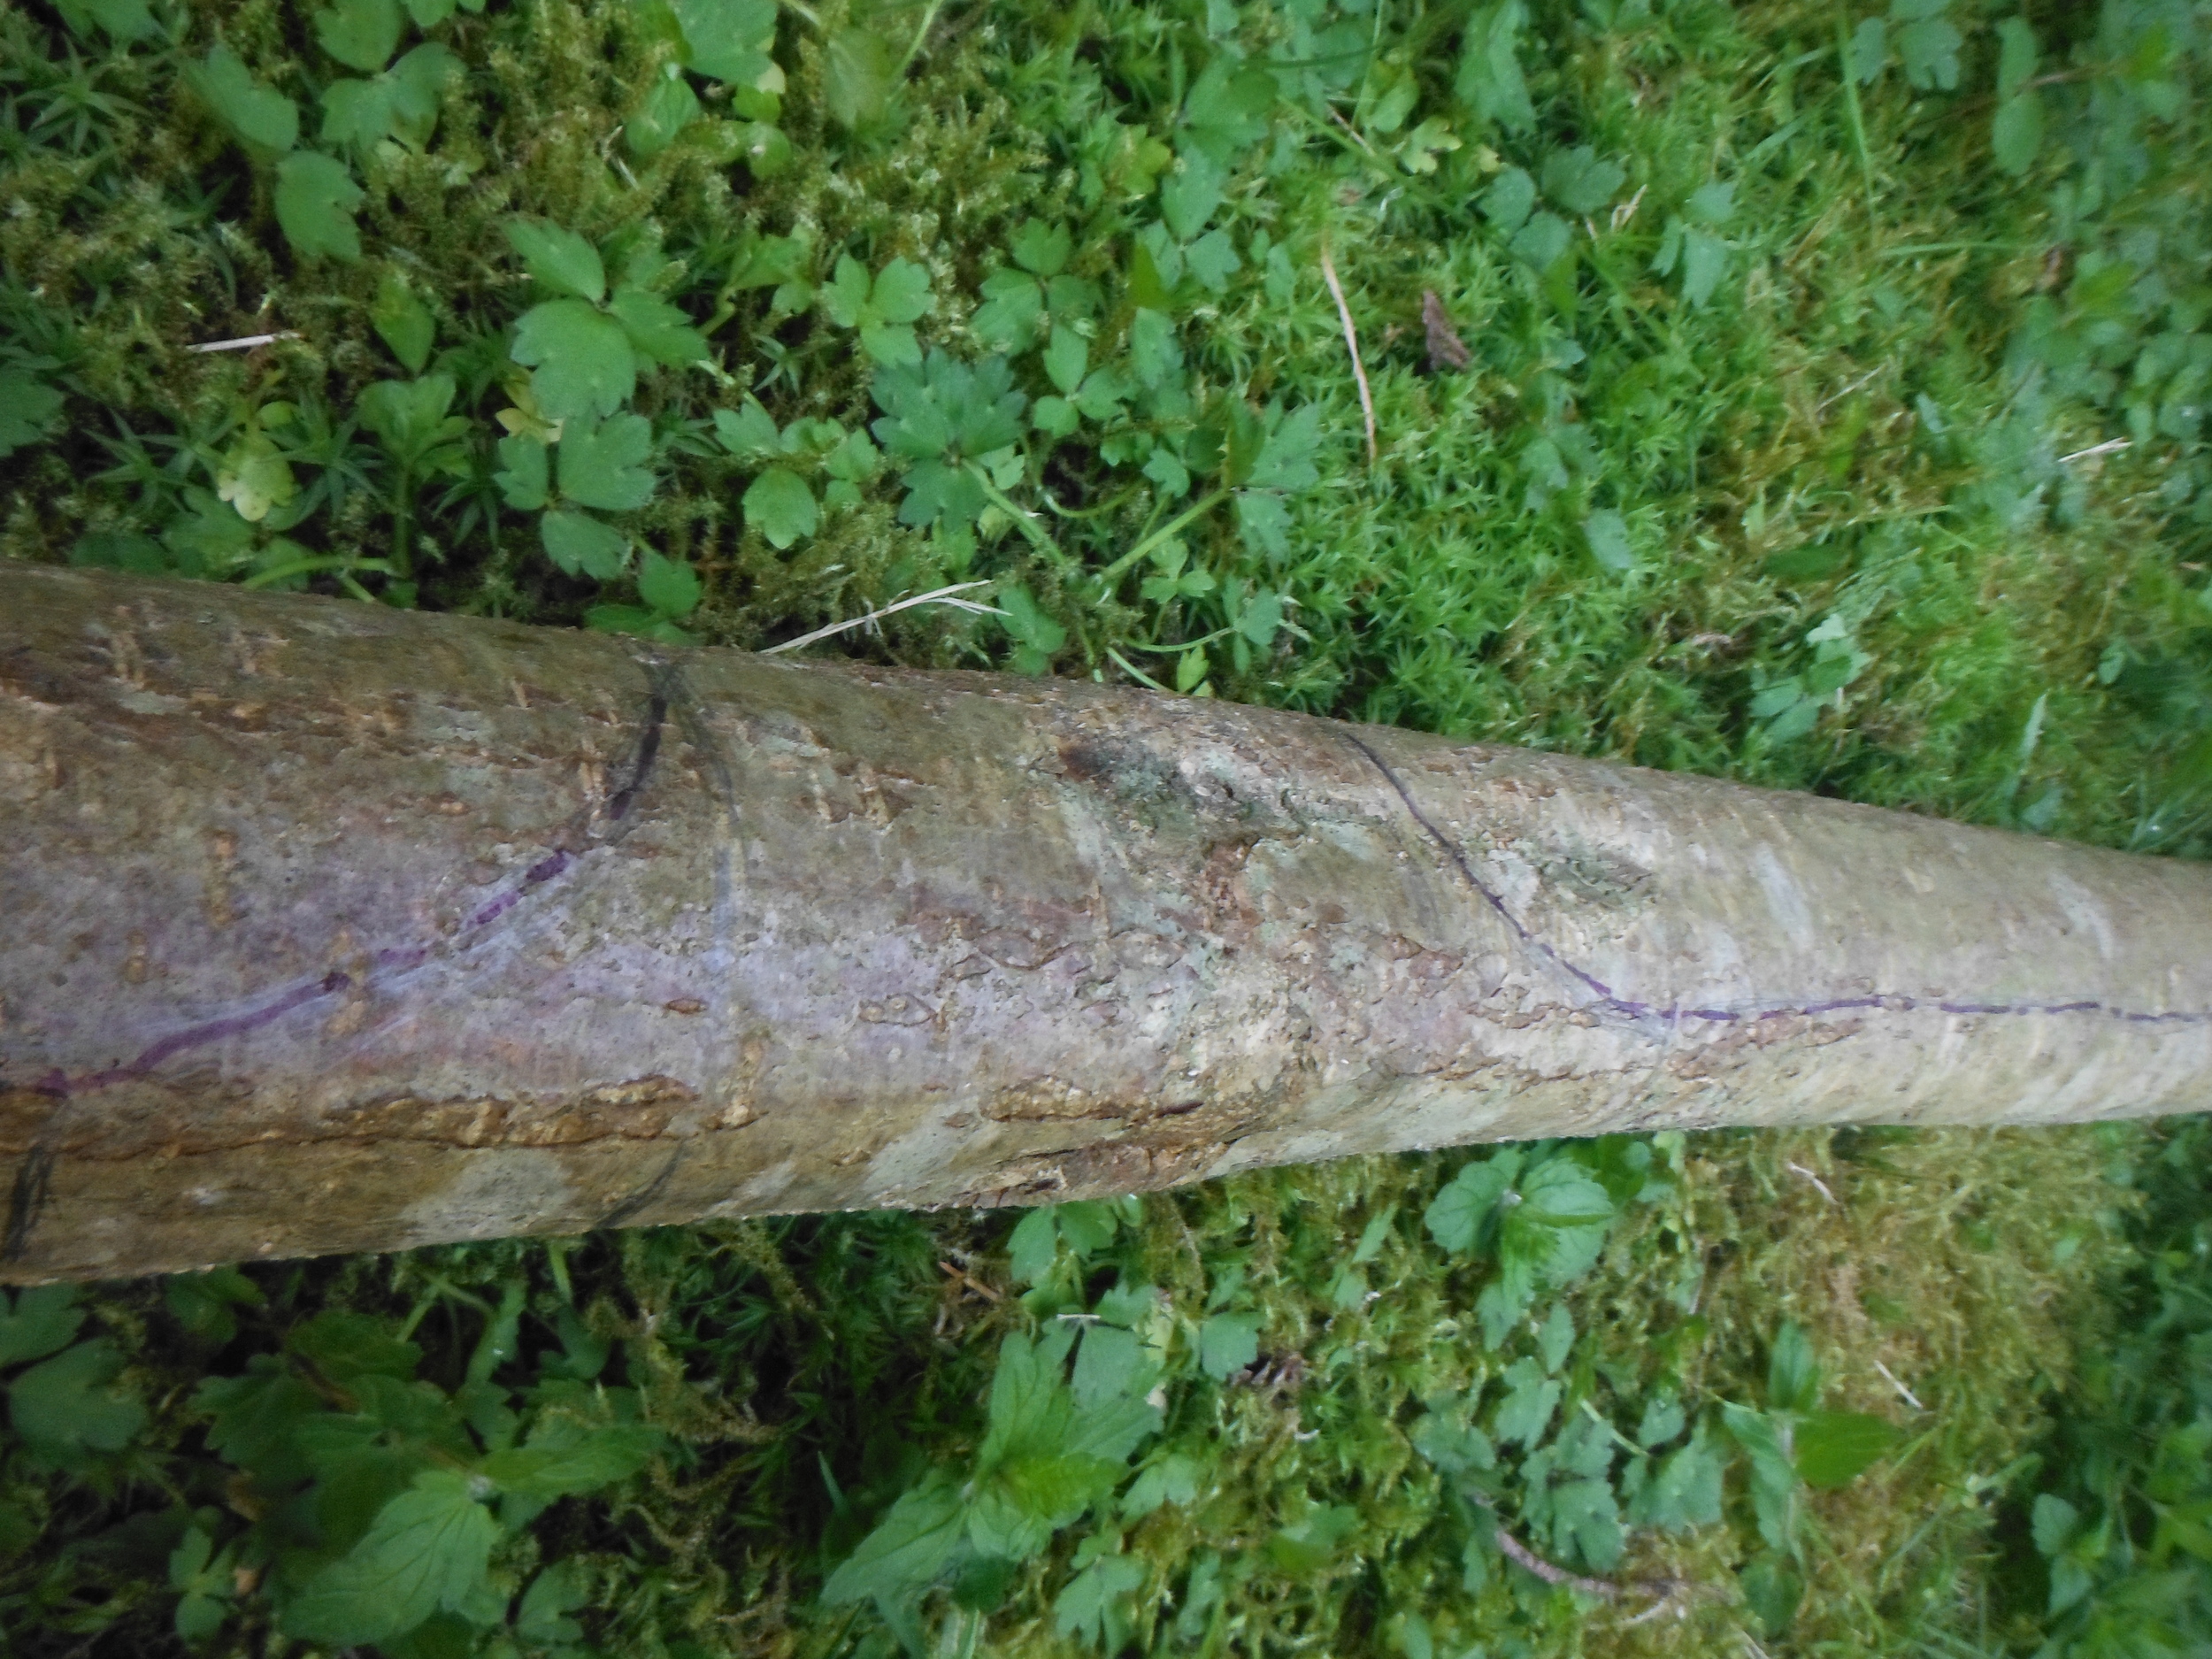
For this bow I decided to remove a little over half the thickness of the limbs, so I cut my stops to just past the center mark and spaced them about 4 inches apart. I put them closer if I anticipate a lot of twist in the grain.
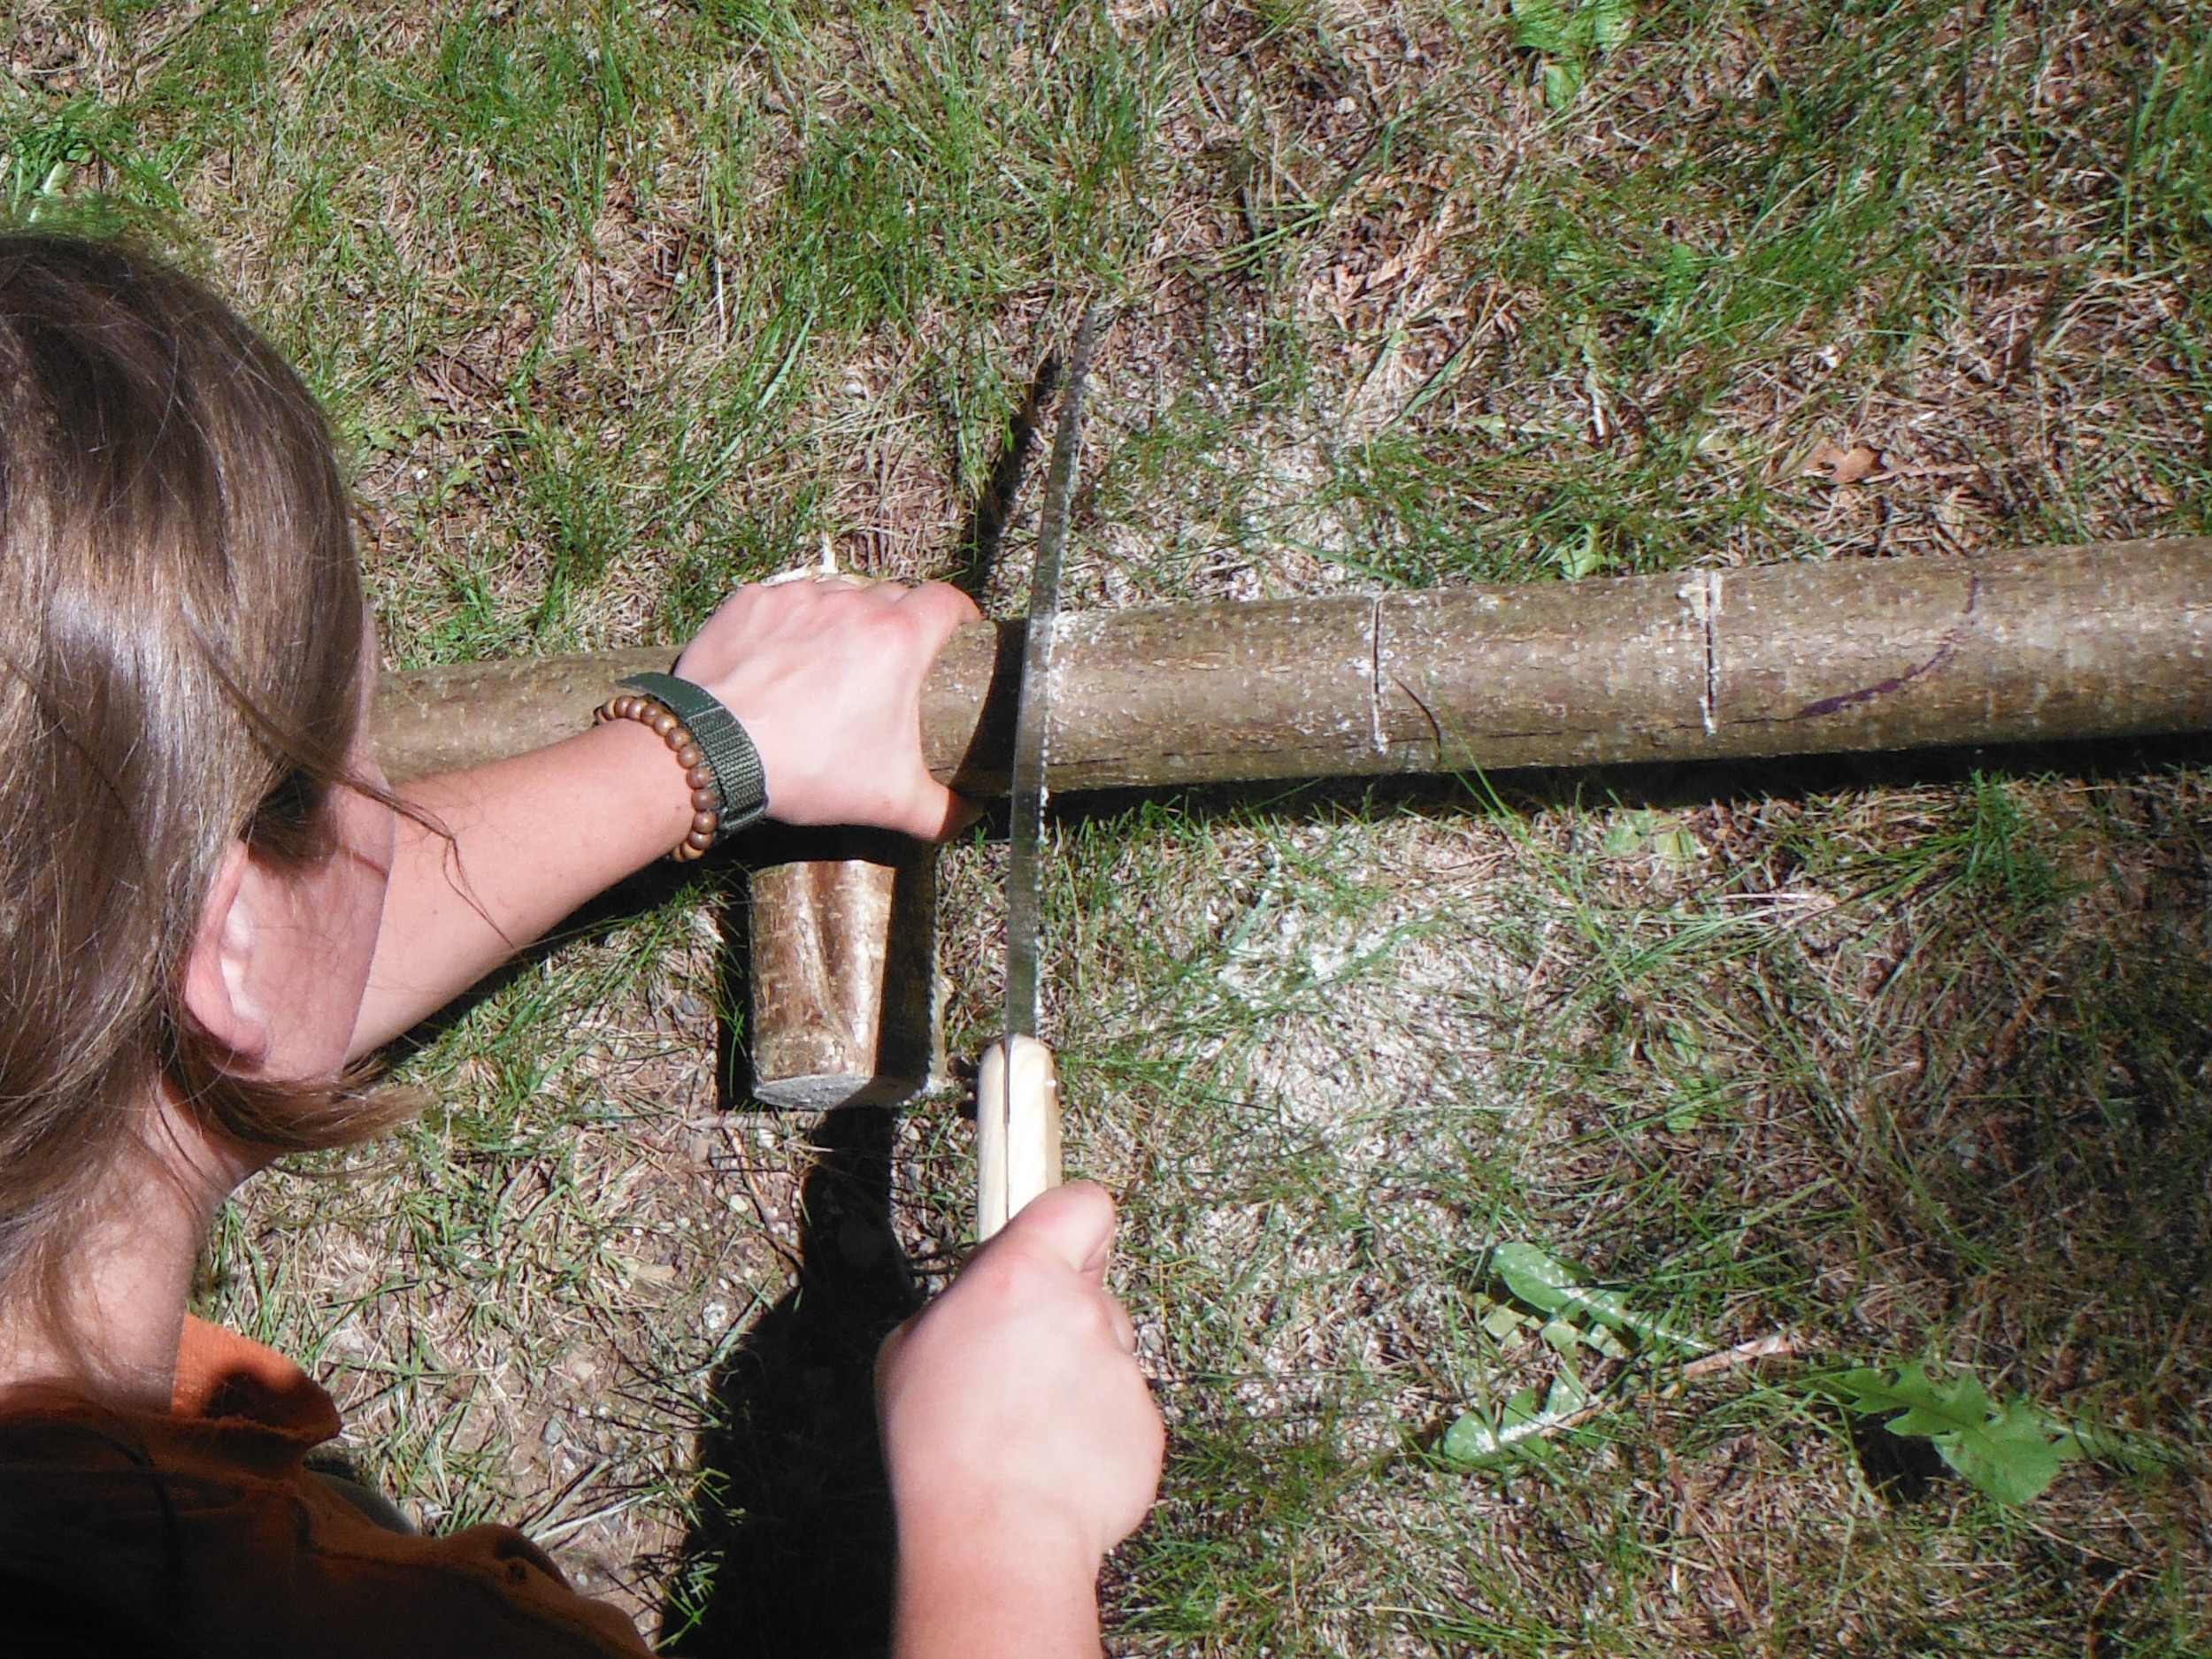
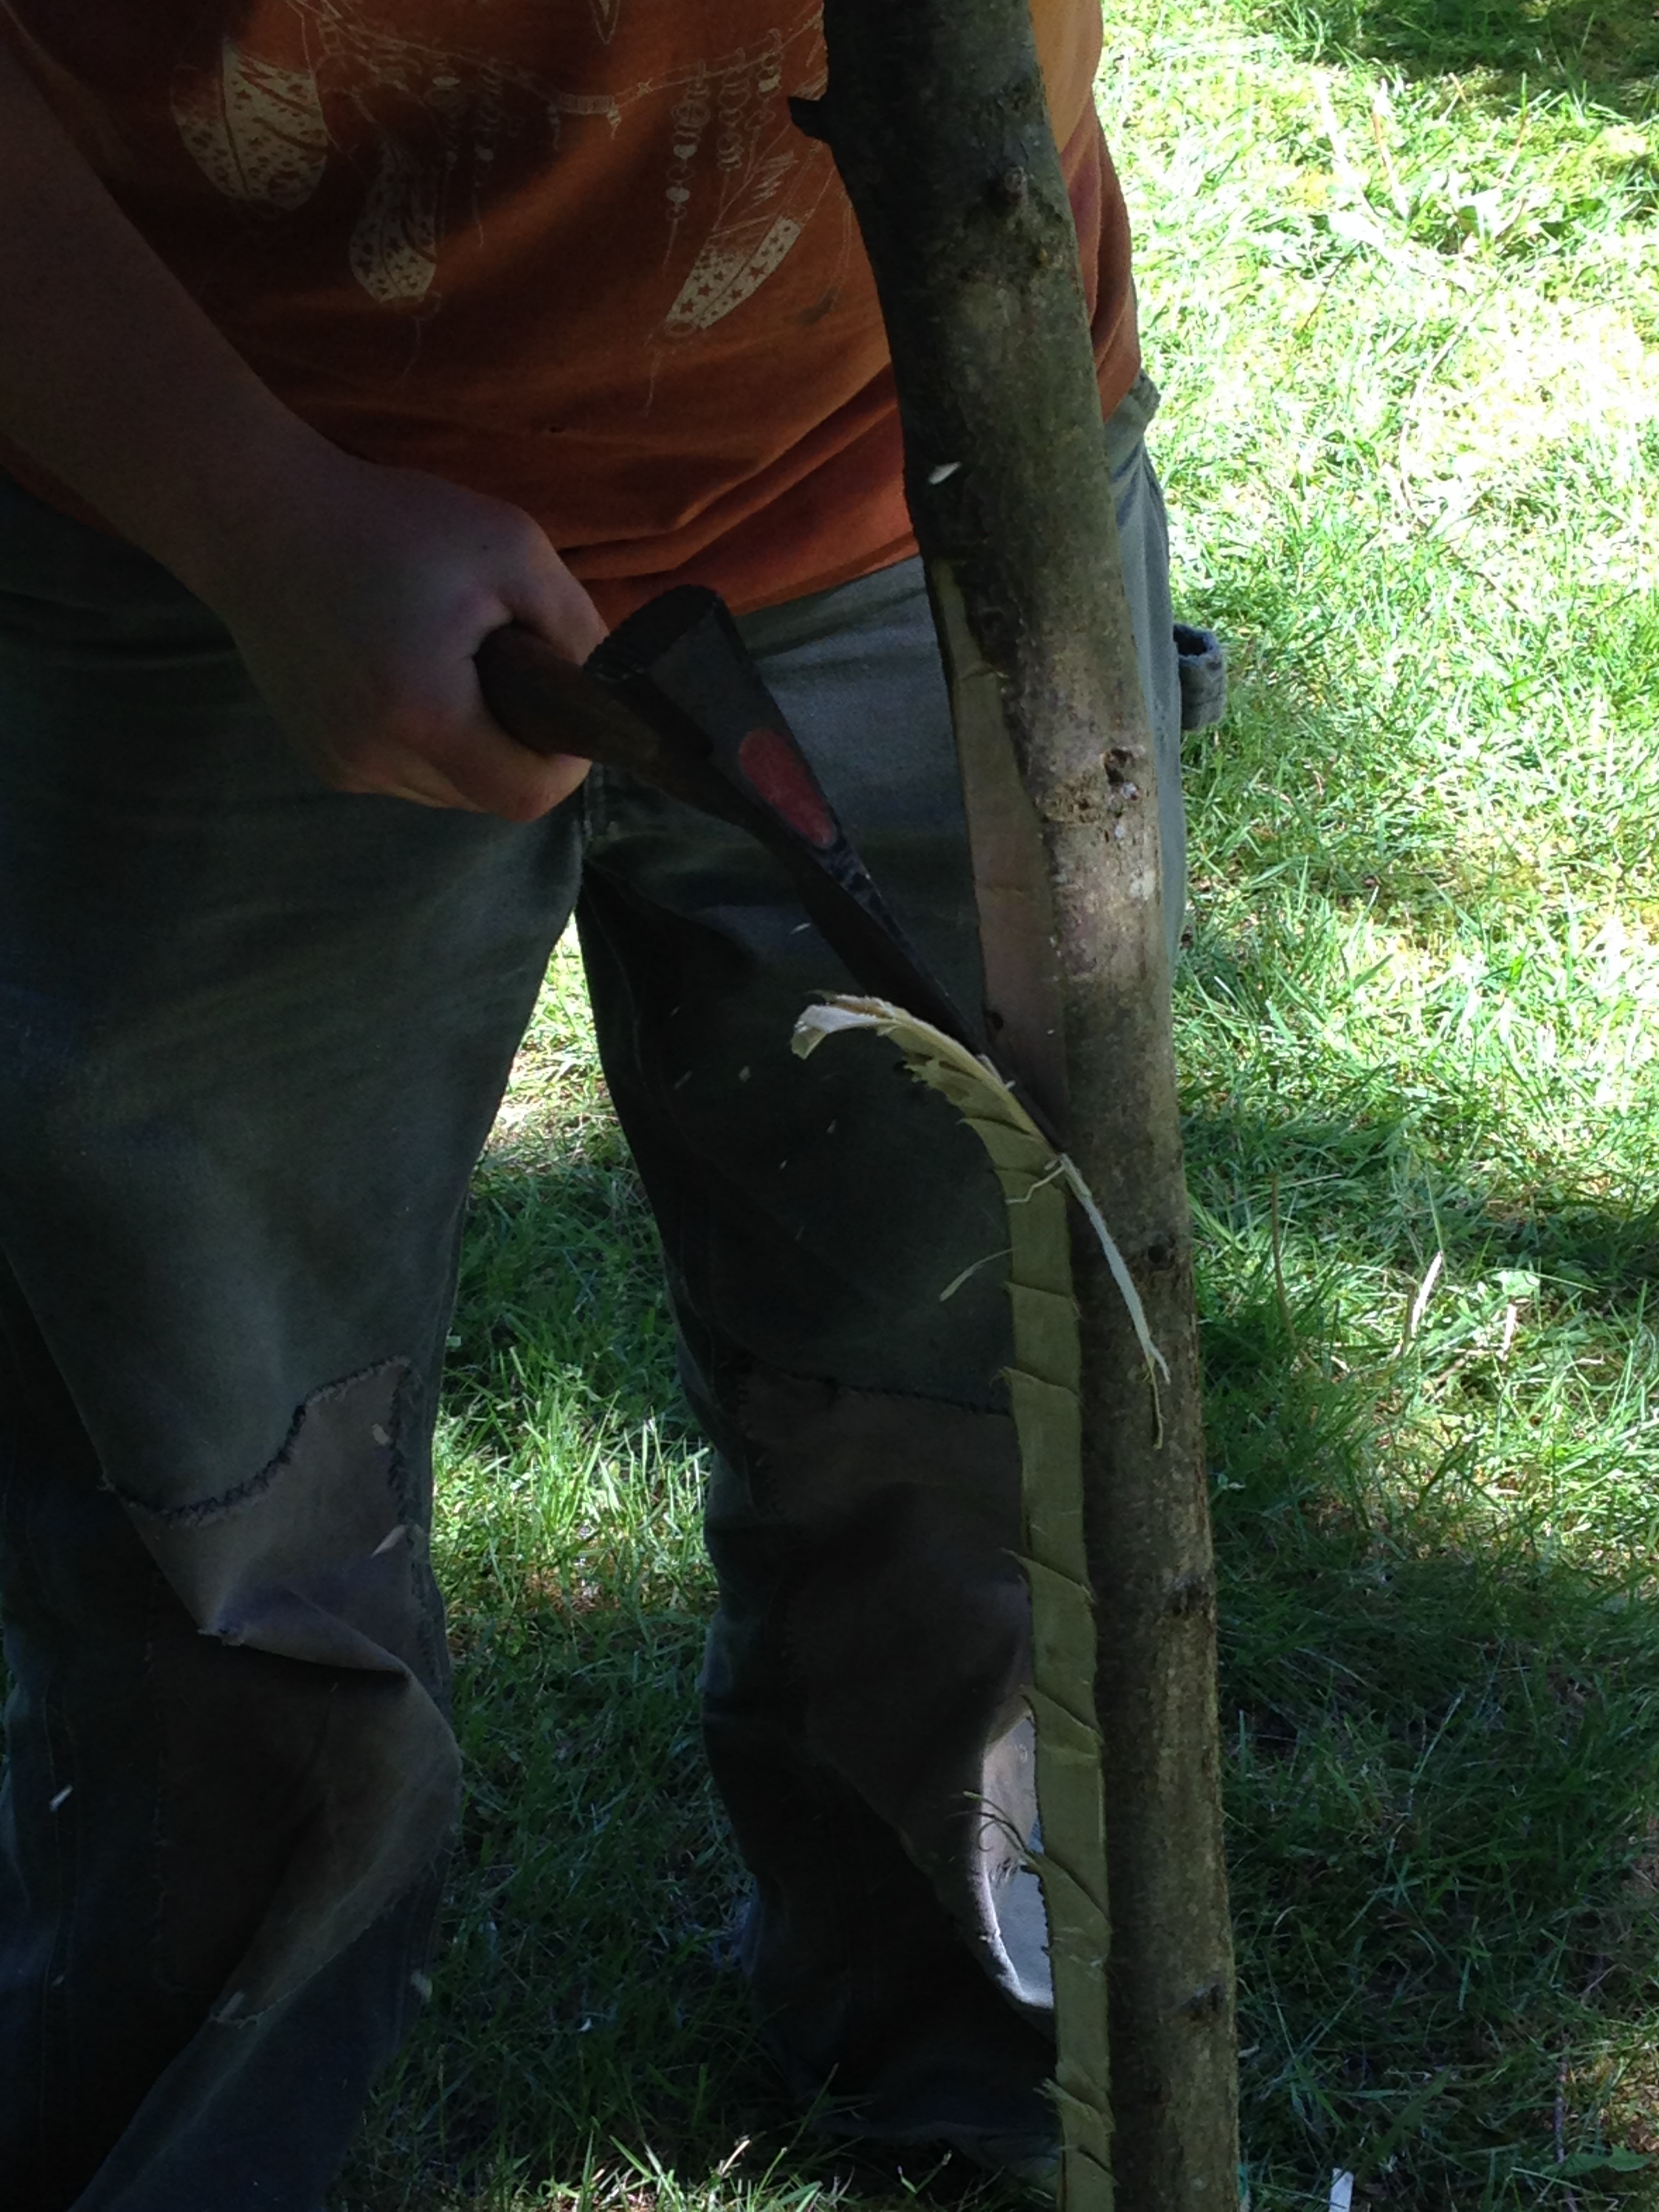
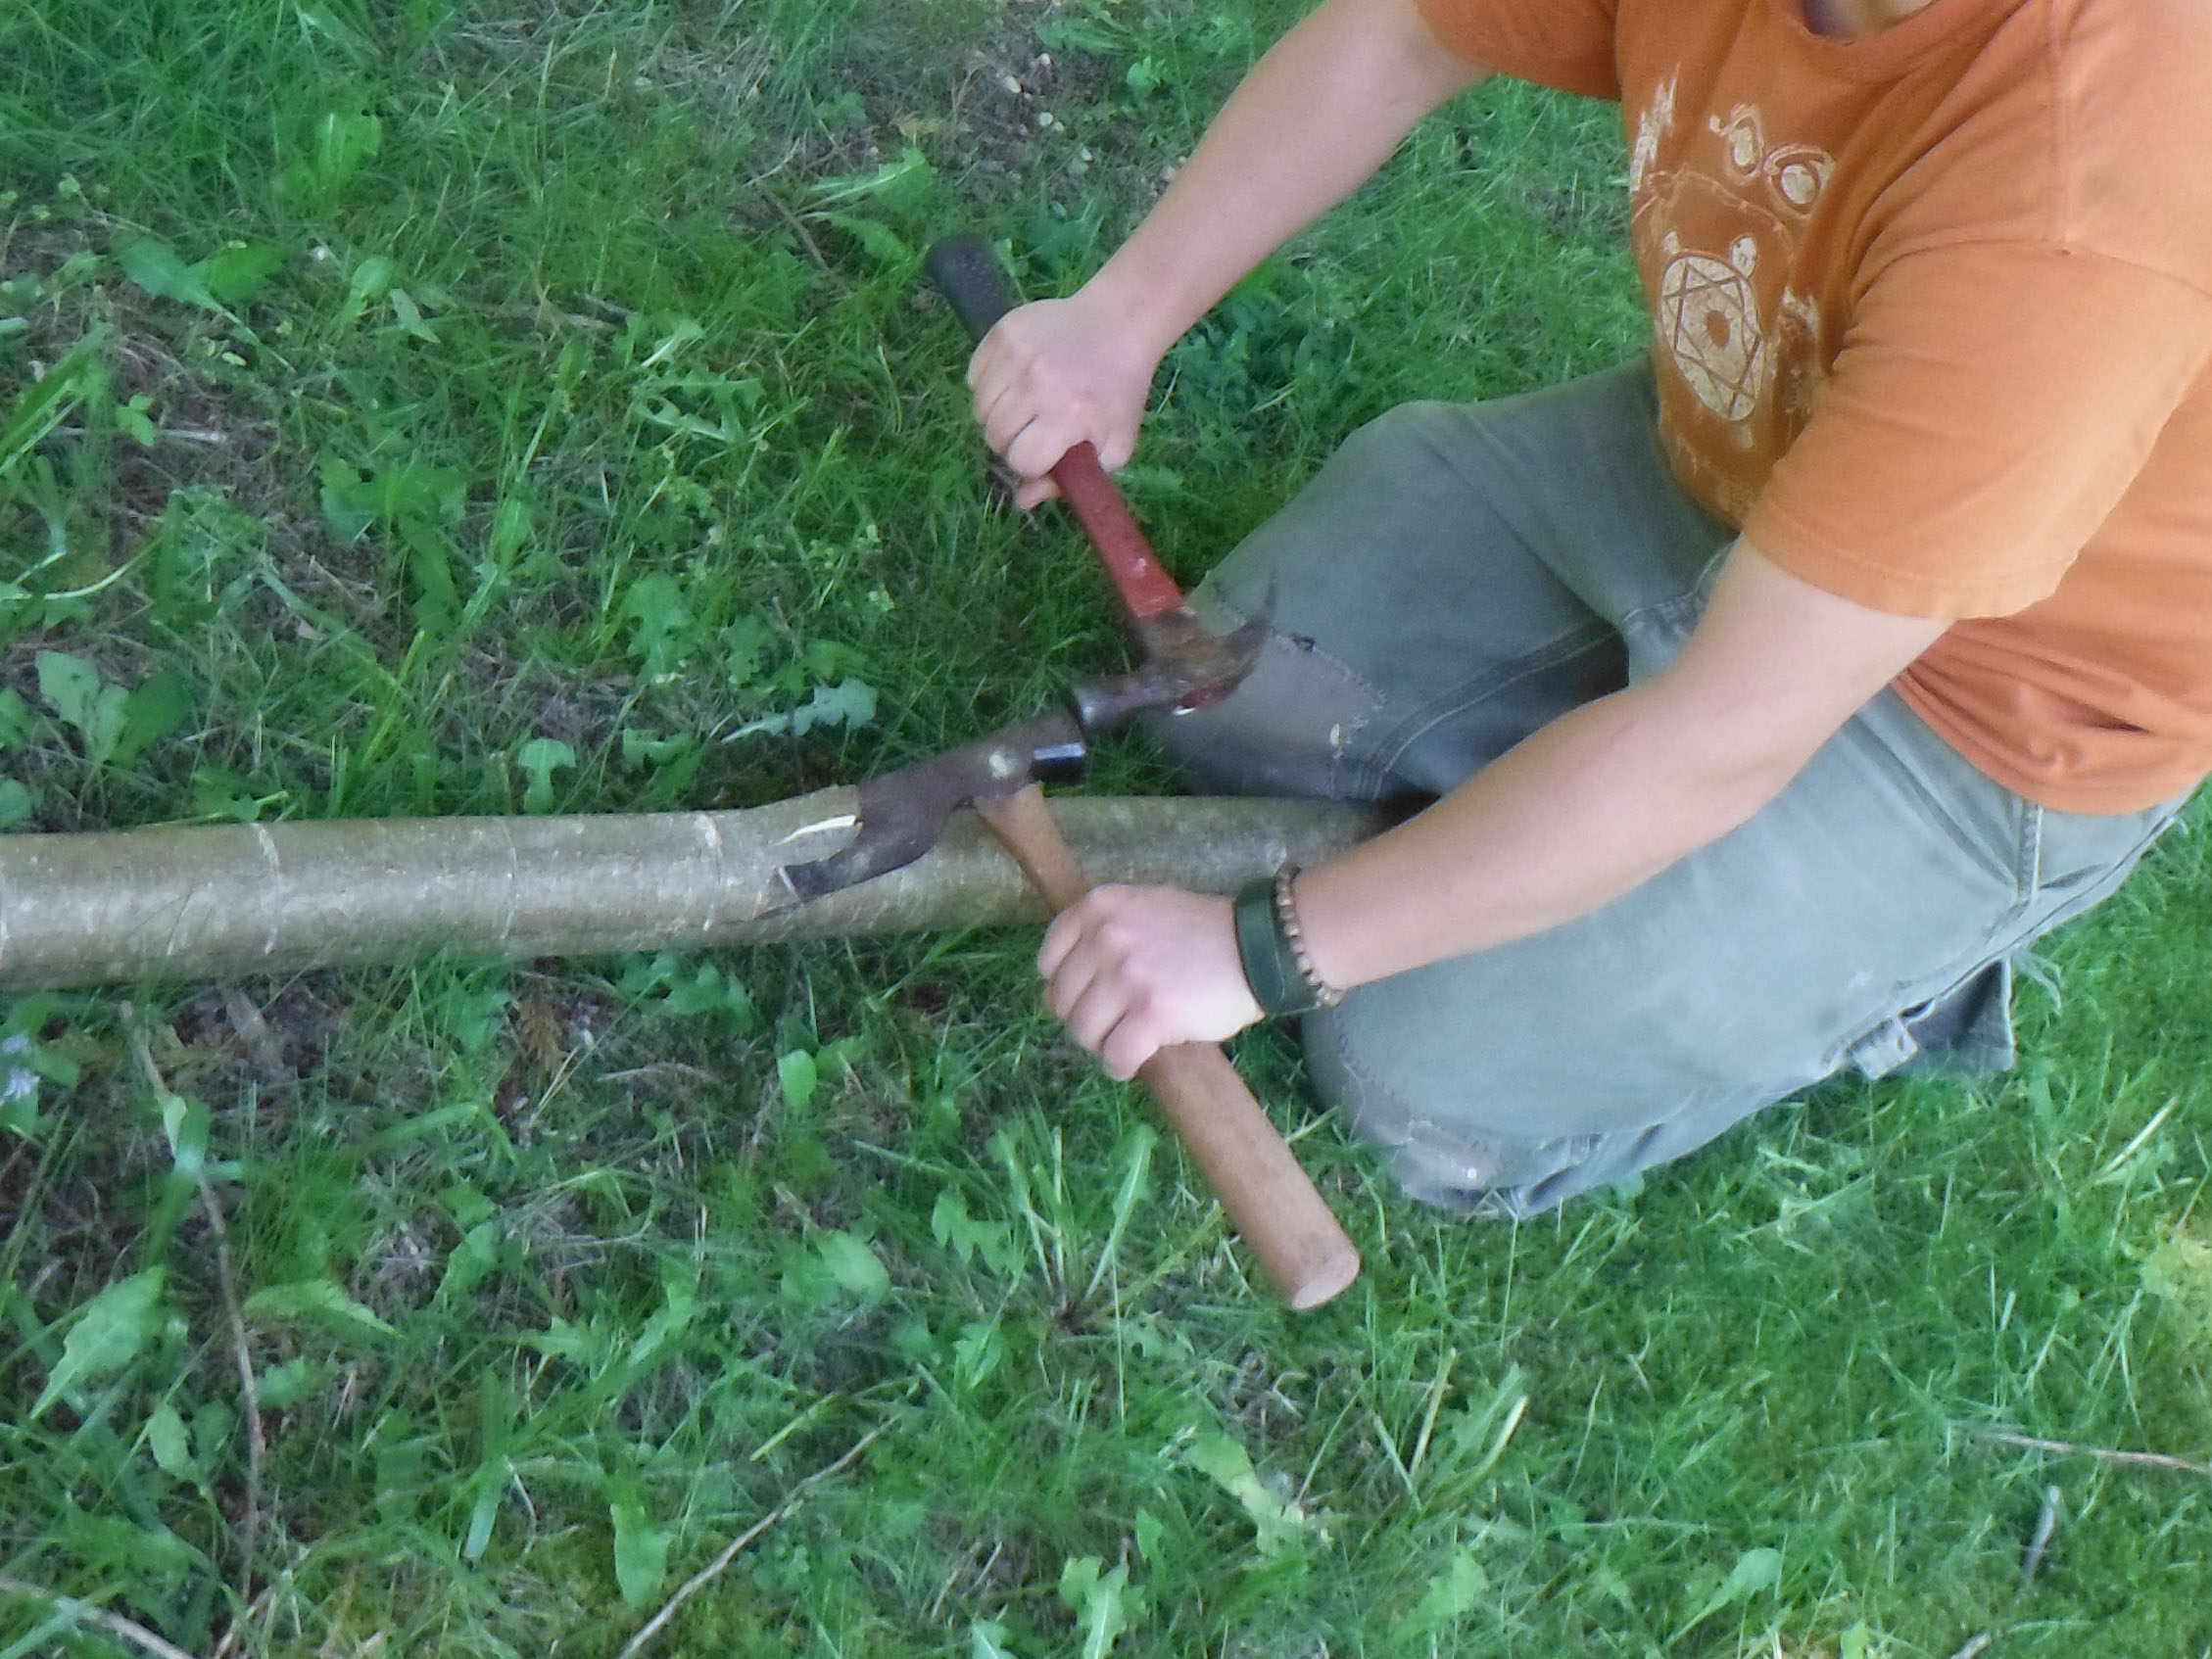
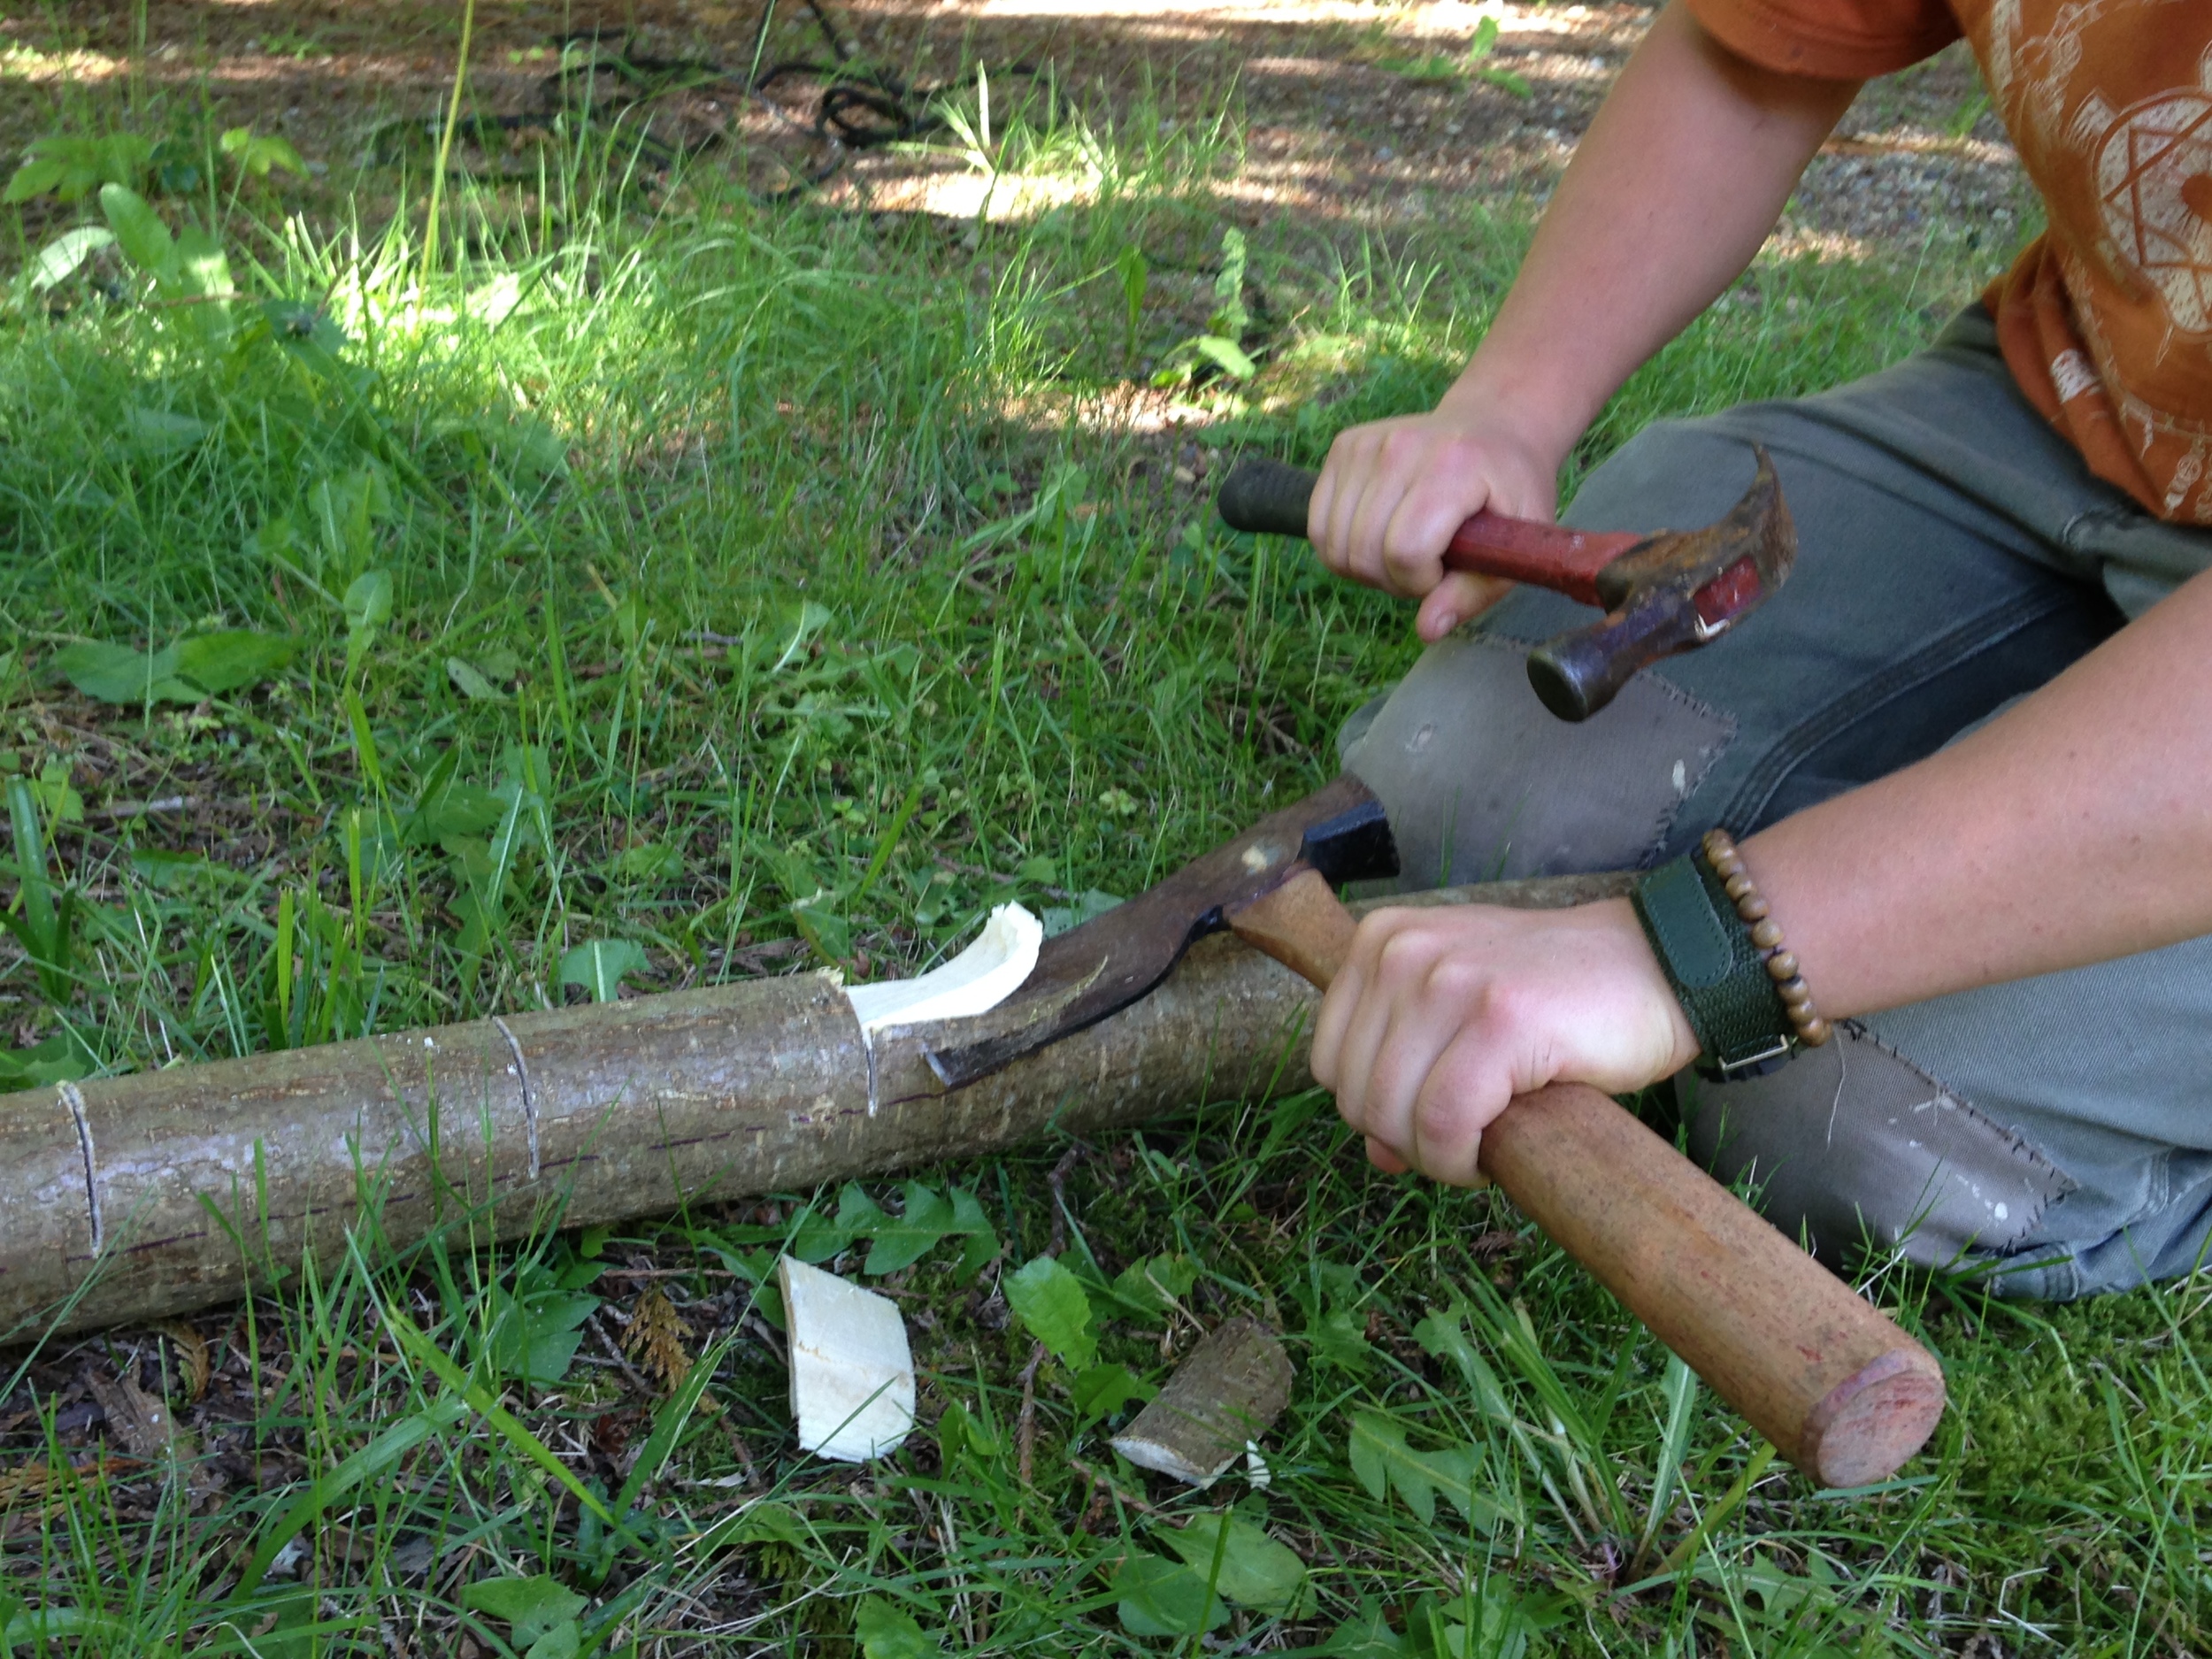
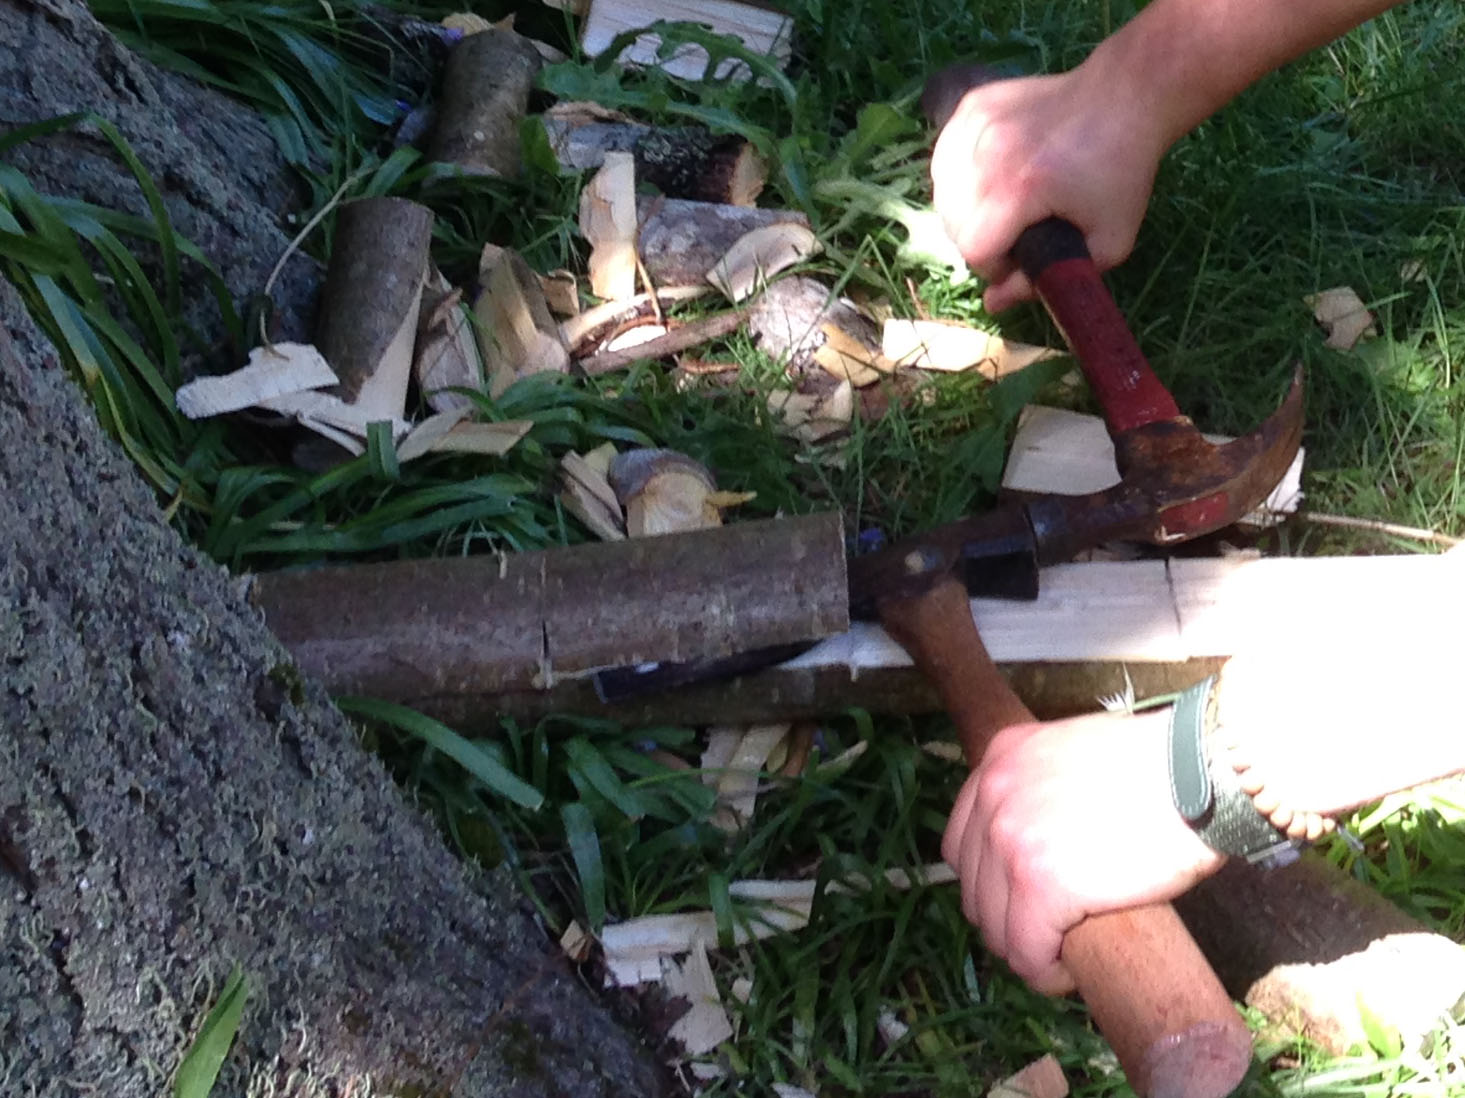
Next I start chopping out the unwanted chunks. It’s important not to work towards the handle because you might end up splitting off a chunk of it unintentionally. So, instead I start with the fades, working away from the center. This is the hardest part and is more like chiseling than chopping.
You basically just place the edge of your hatchet where you want to start your fade, and angle it at the degree you want your fade to slope and start tapping it in with a hammer or a strong piece of wood. Once you’ve pounded it in a little bit, you flatten the hatchet angle and tap out that chunk to the stop cut.
Repeat this process until the fade is fully shaped out.
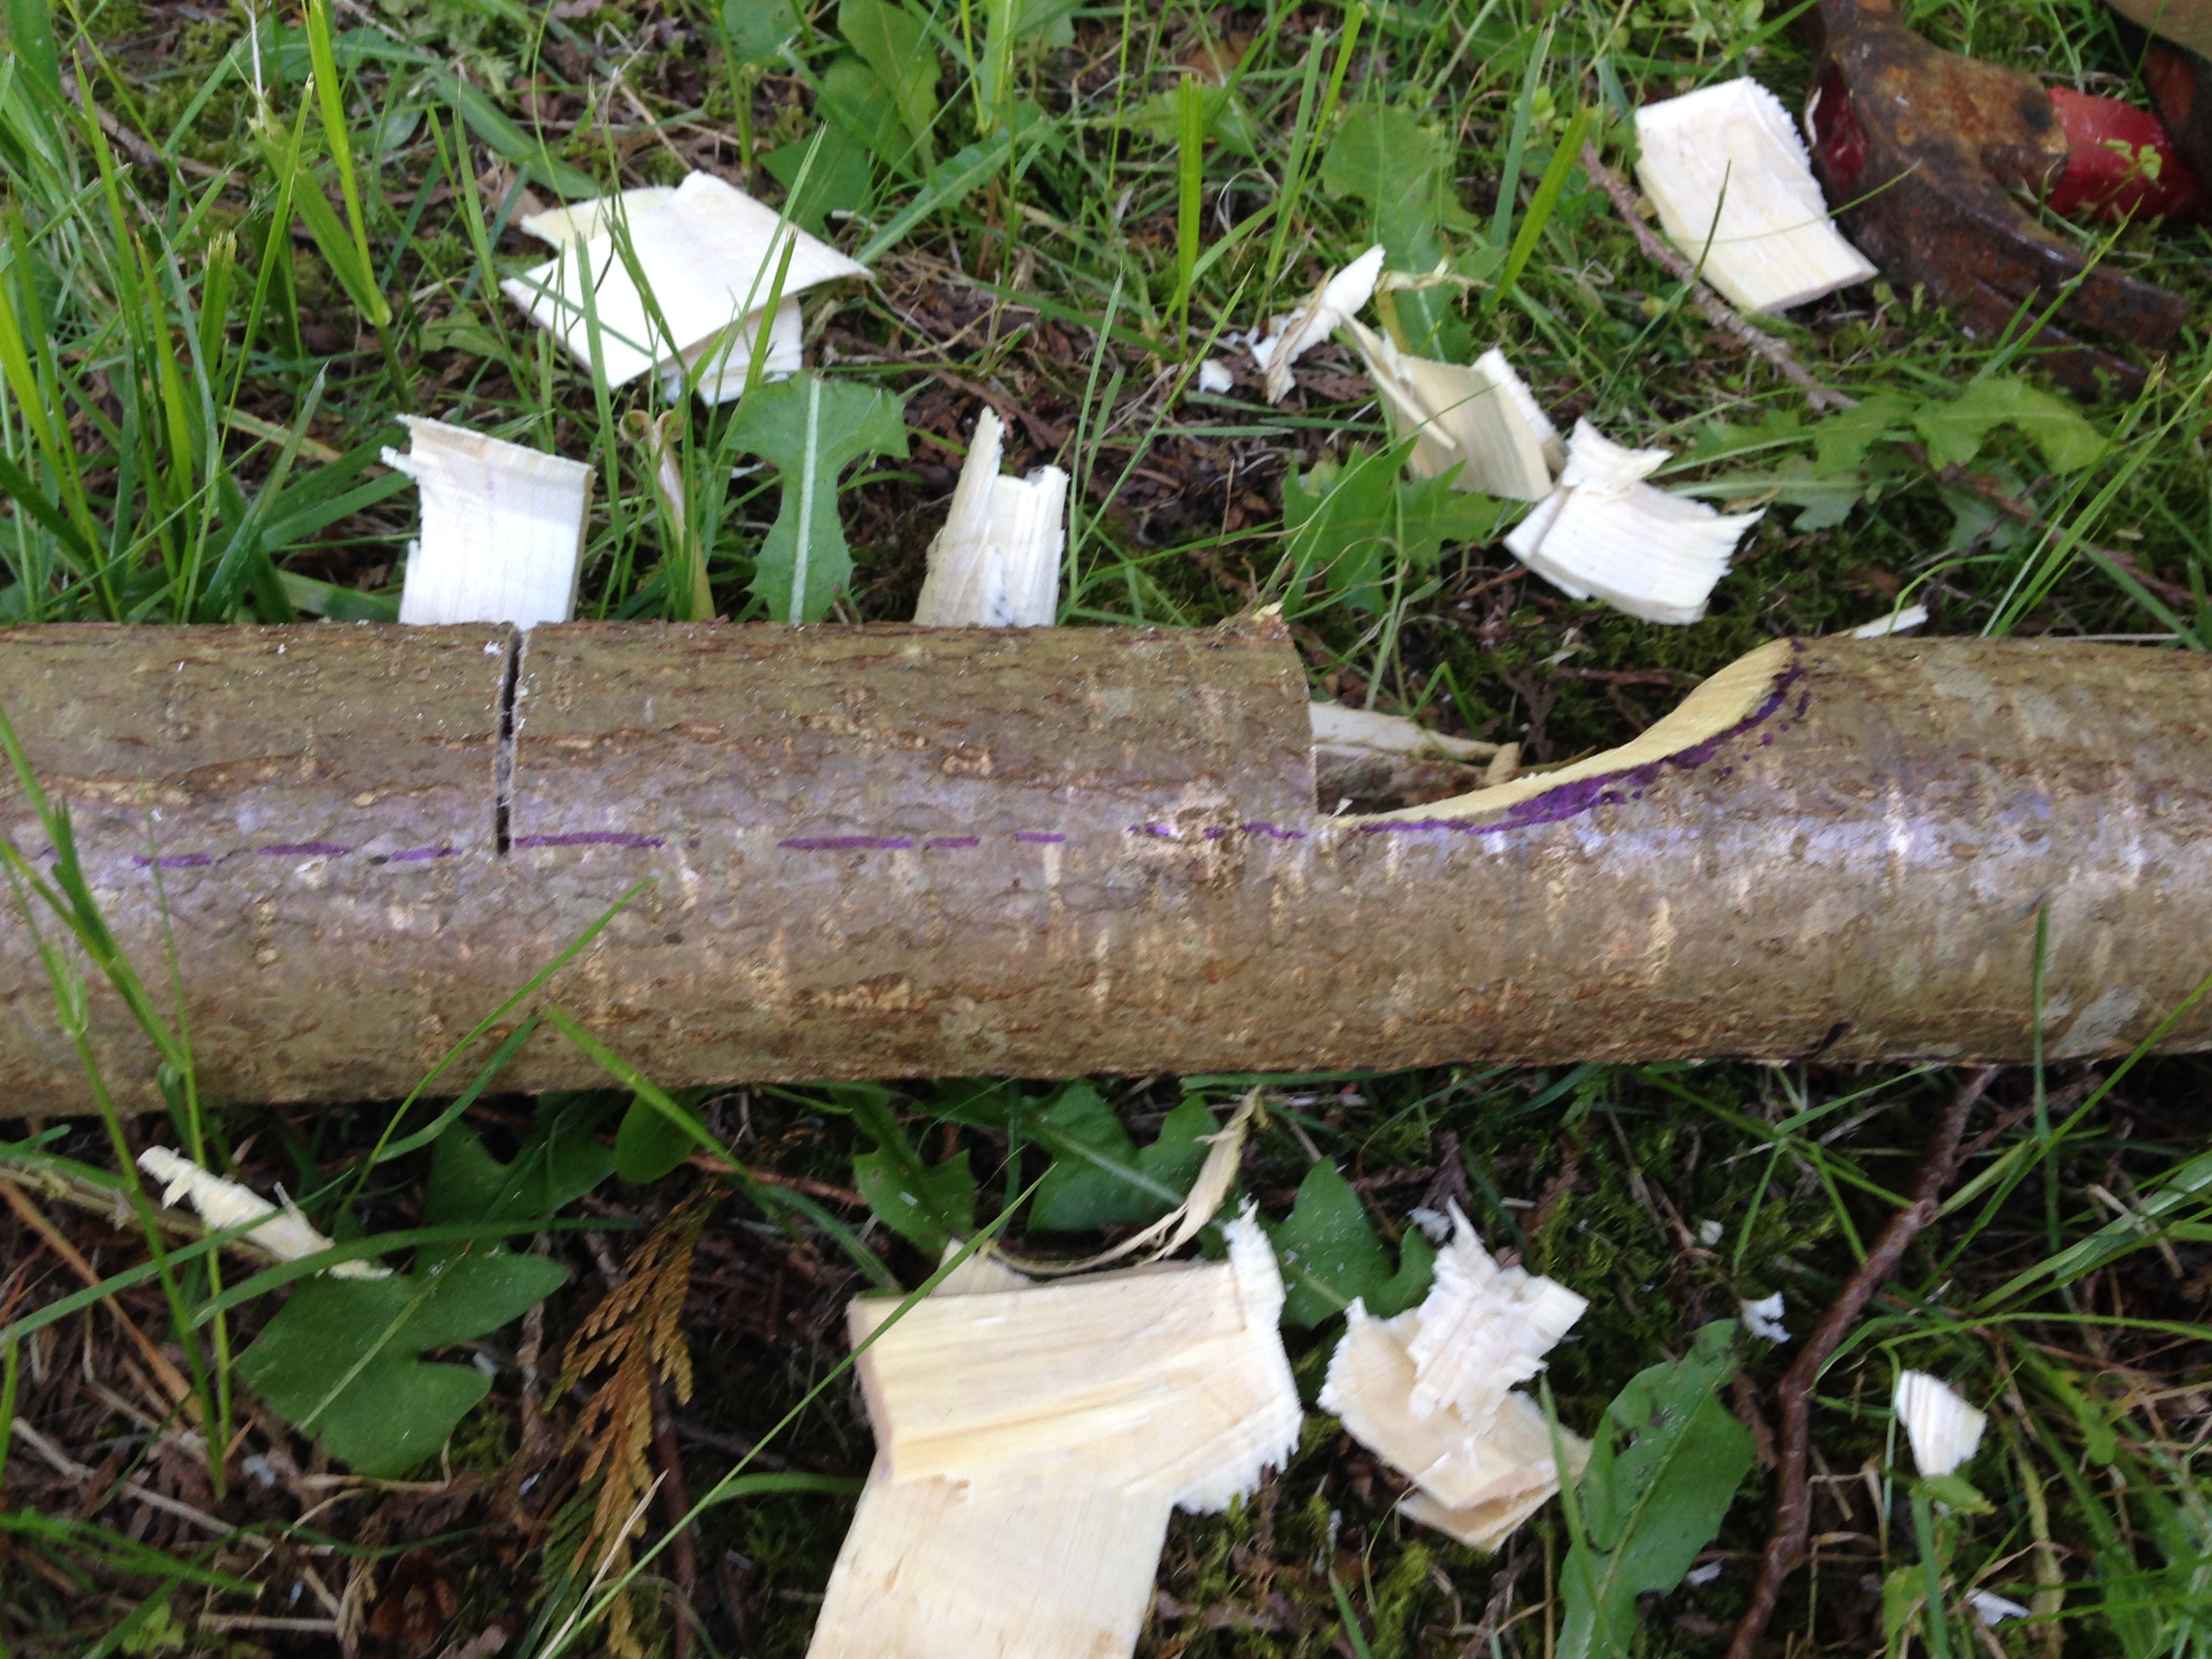
The rest of the limb is easy and straight forward. You just place the edge of the hatchet at the base of the previous cut and tap it a few times until the chunk pops off.

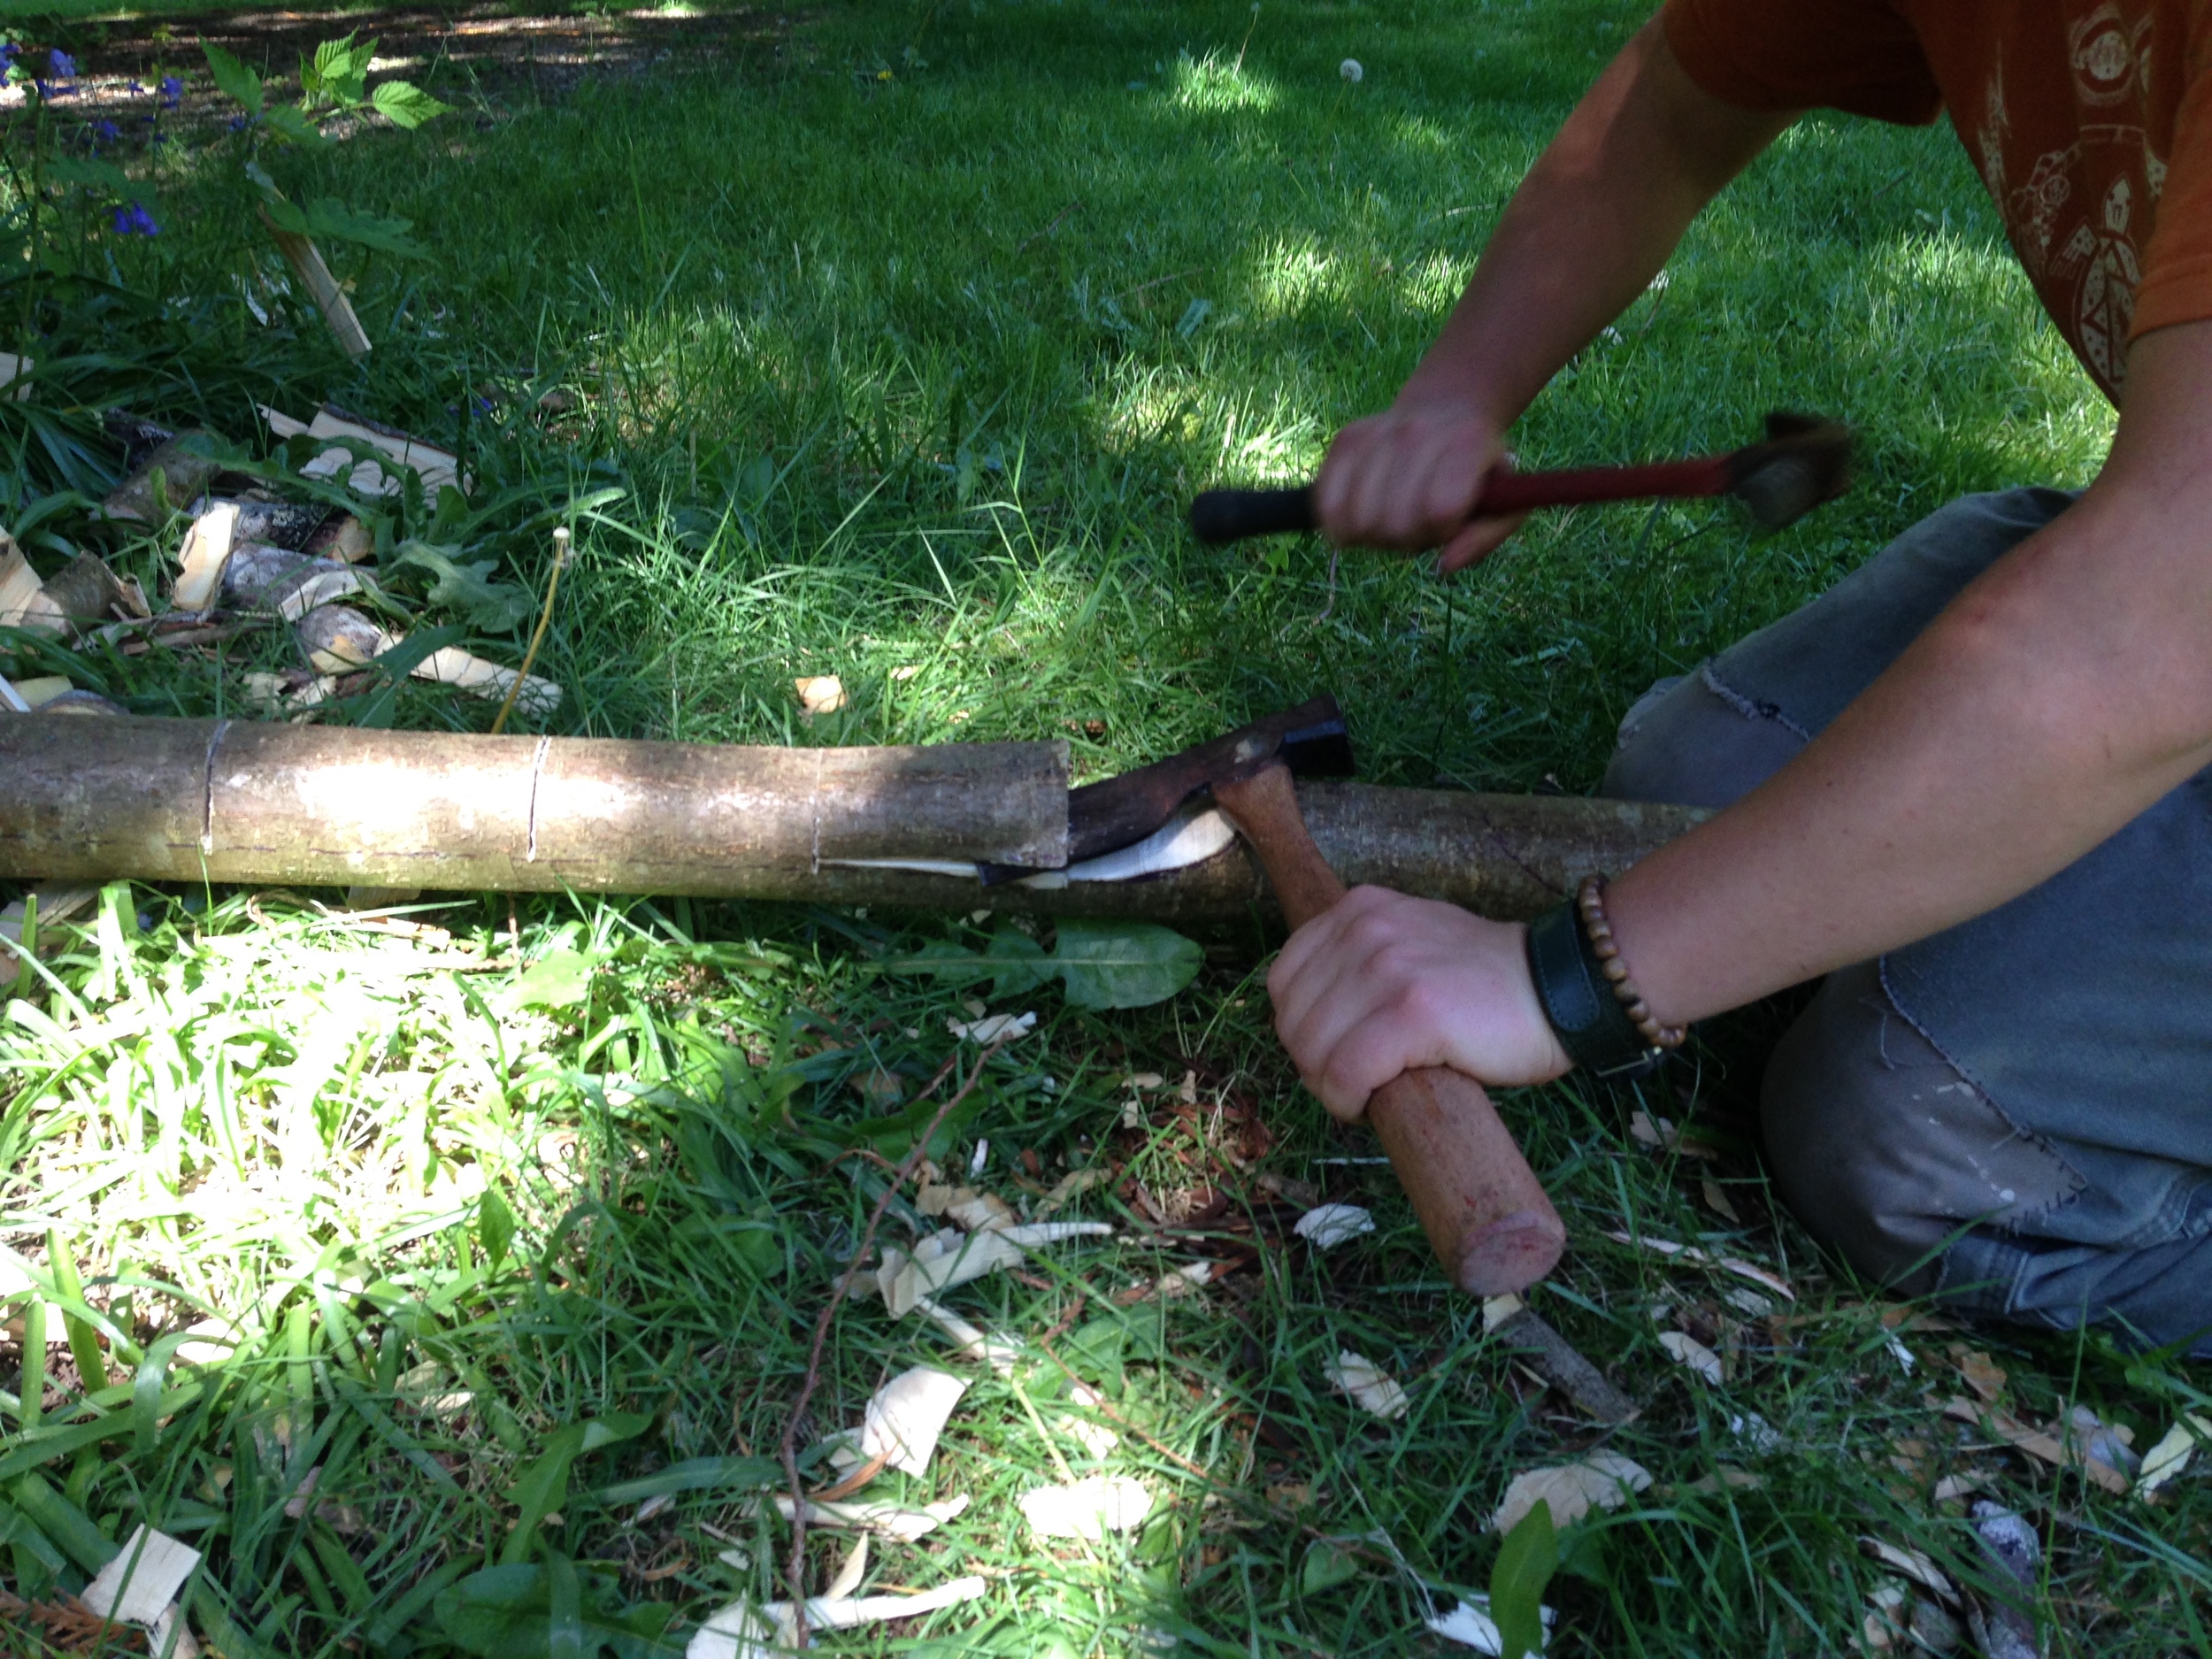
Repeat until all the chunks are removed.
And just like that you’ve removed half the mass of your stave!
This process can be repeated as necessary to thin the bow further if it is still thick and stiff.
From there you can go ahead and store it to start the drying process. However, I have had one stave (an oceanspray stave) crack through the handle section within the first few days of drying.
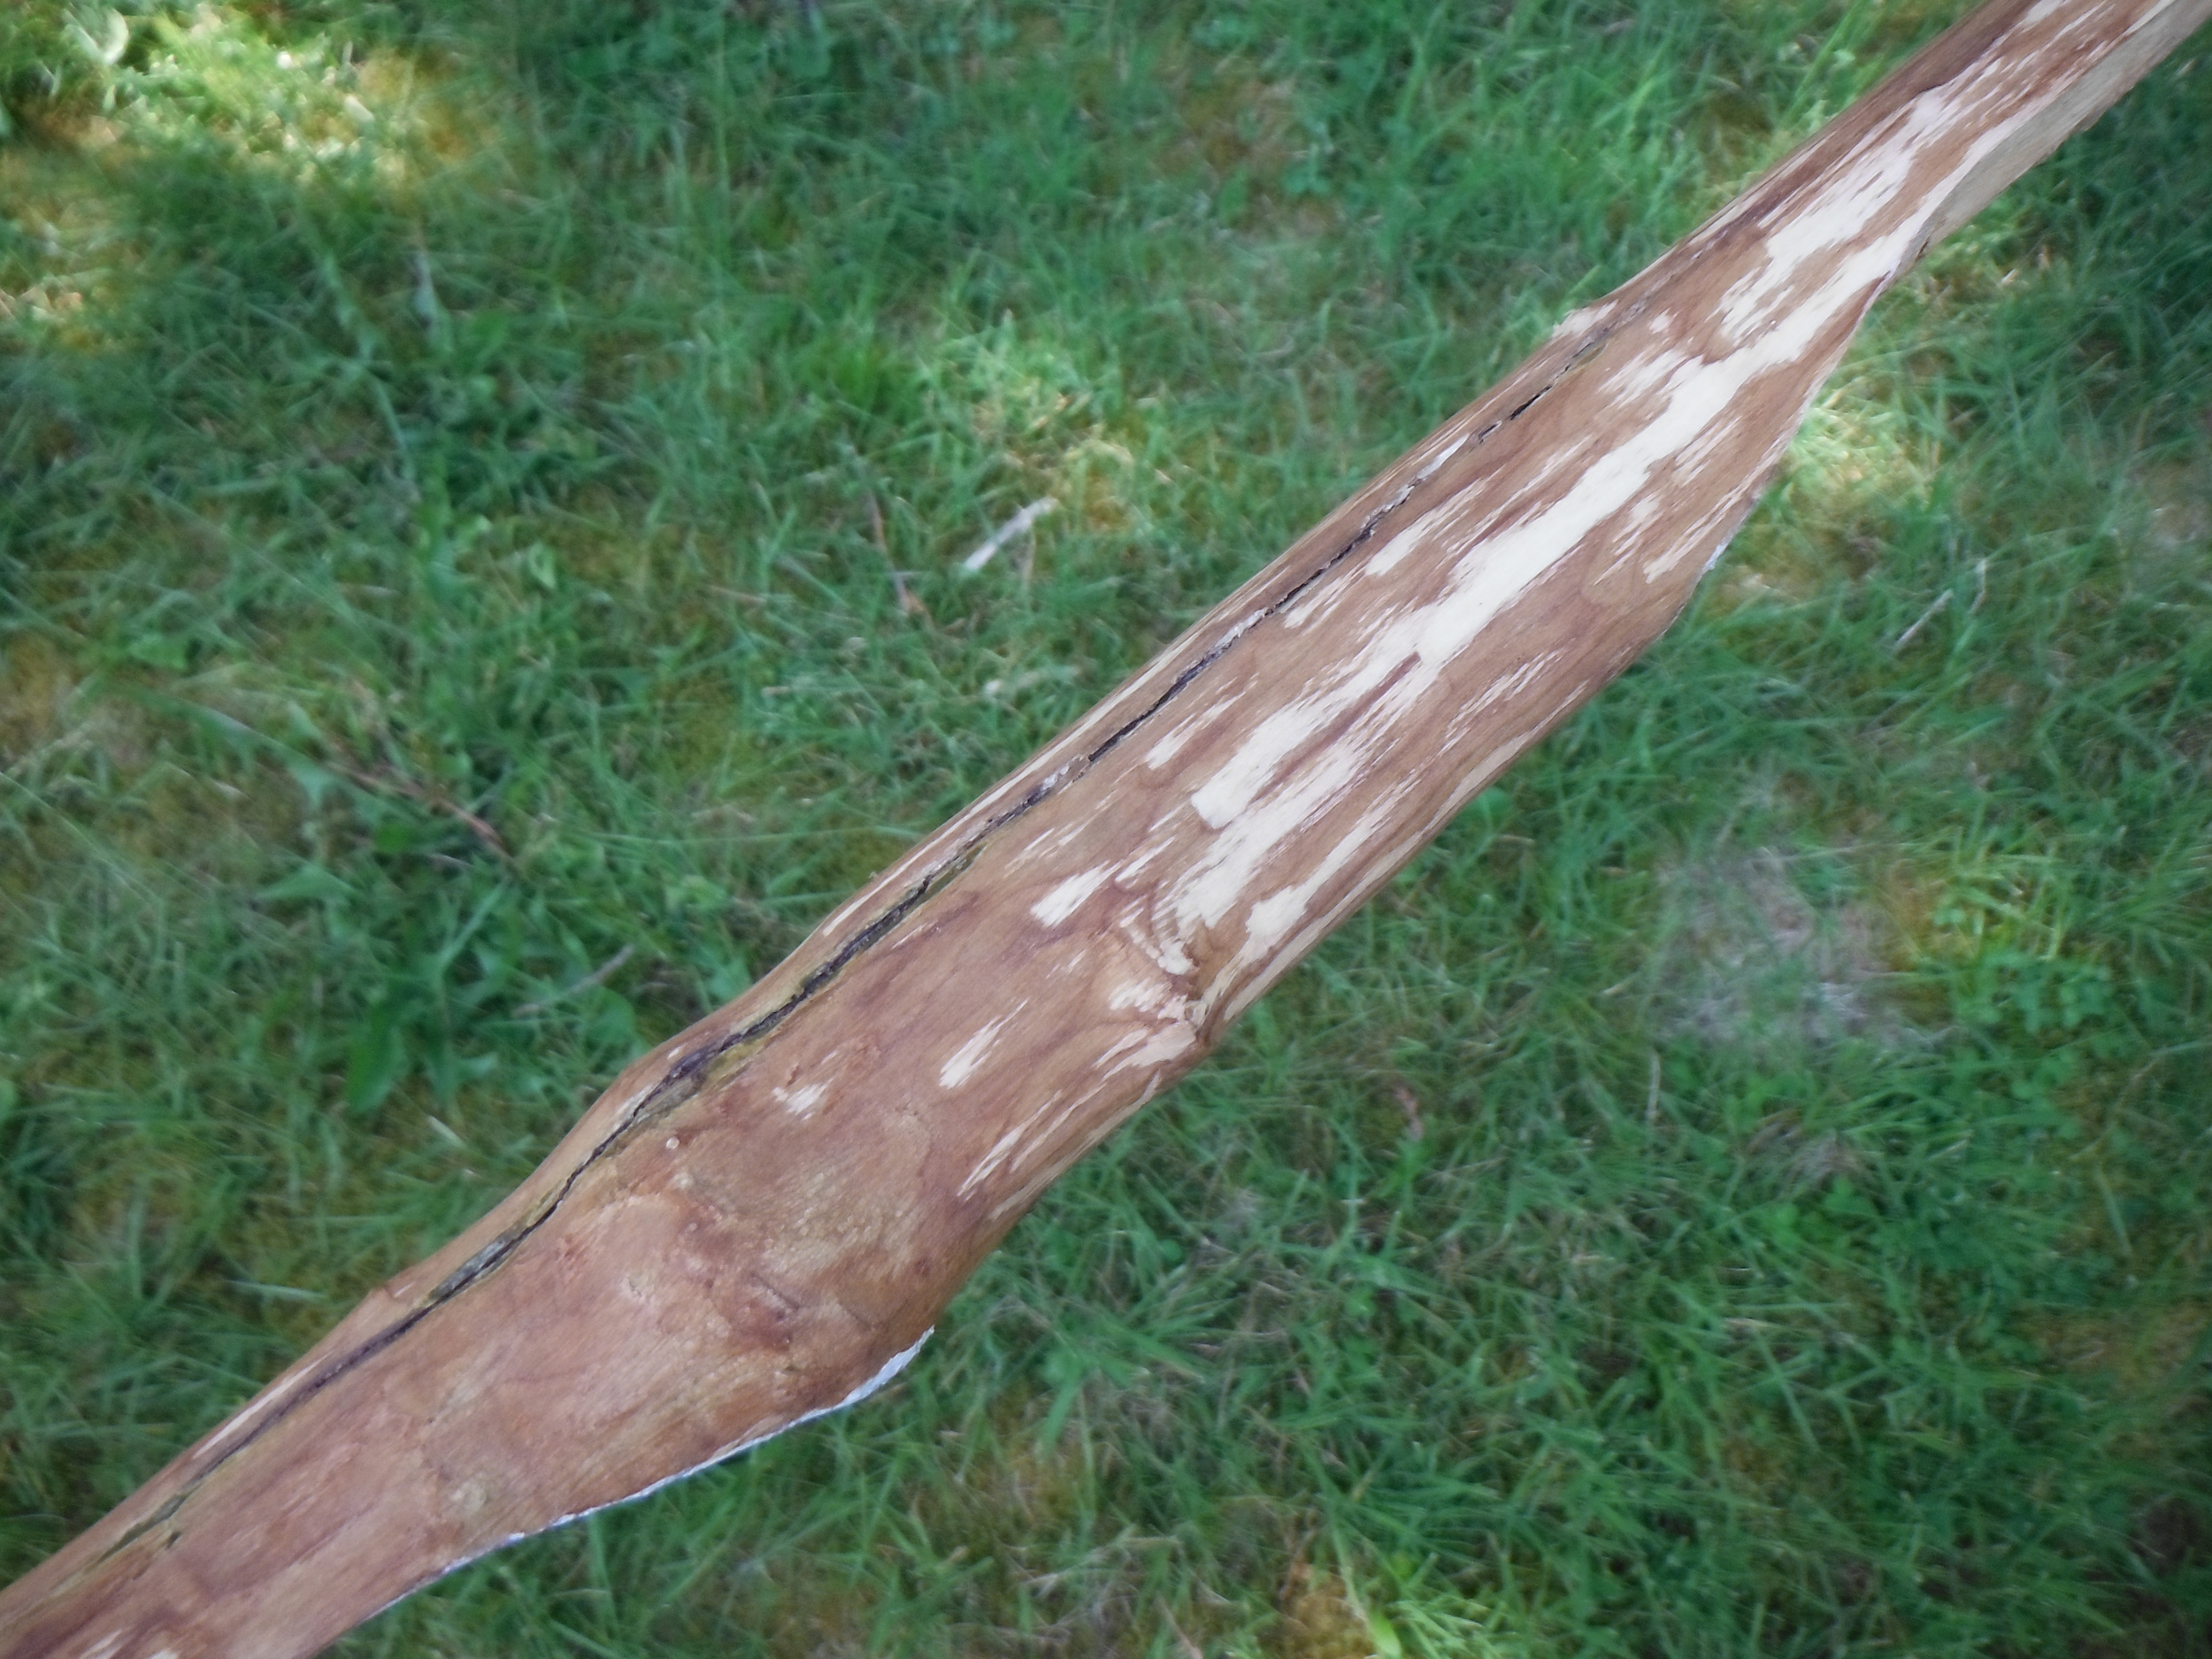
This is partial due to the hazards of working with oceanspray, which is very difficult to dry without any cracking. But, since the crack occurred in the handle where I did not do any carving, I have since started taking out material in my handles before drying in hopes of releasing some of the cracking pressure.
I use the same process as before and cut stops to the depth I want, then chisel out the material.
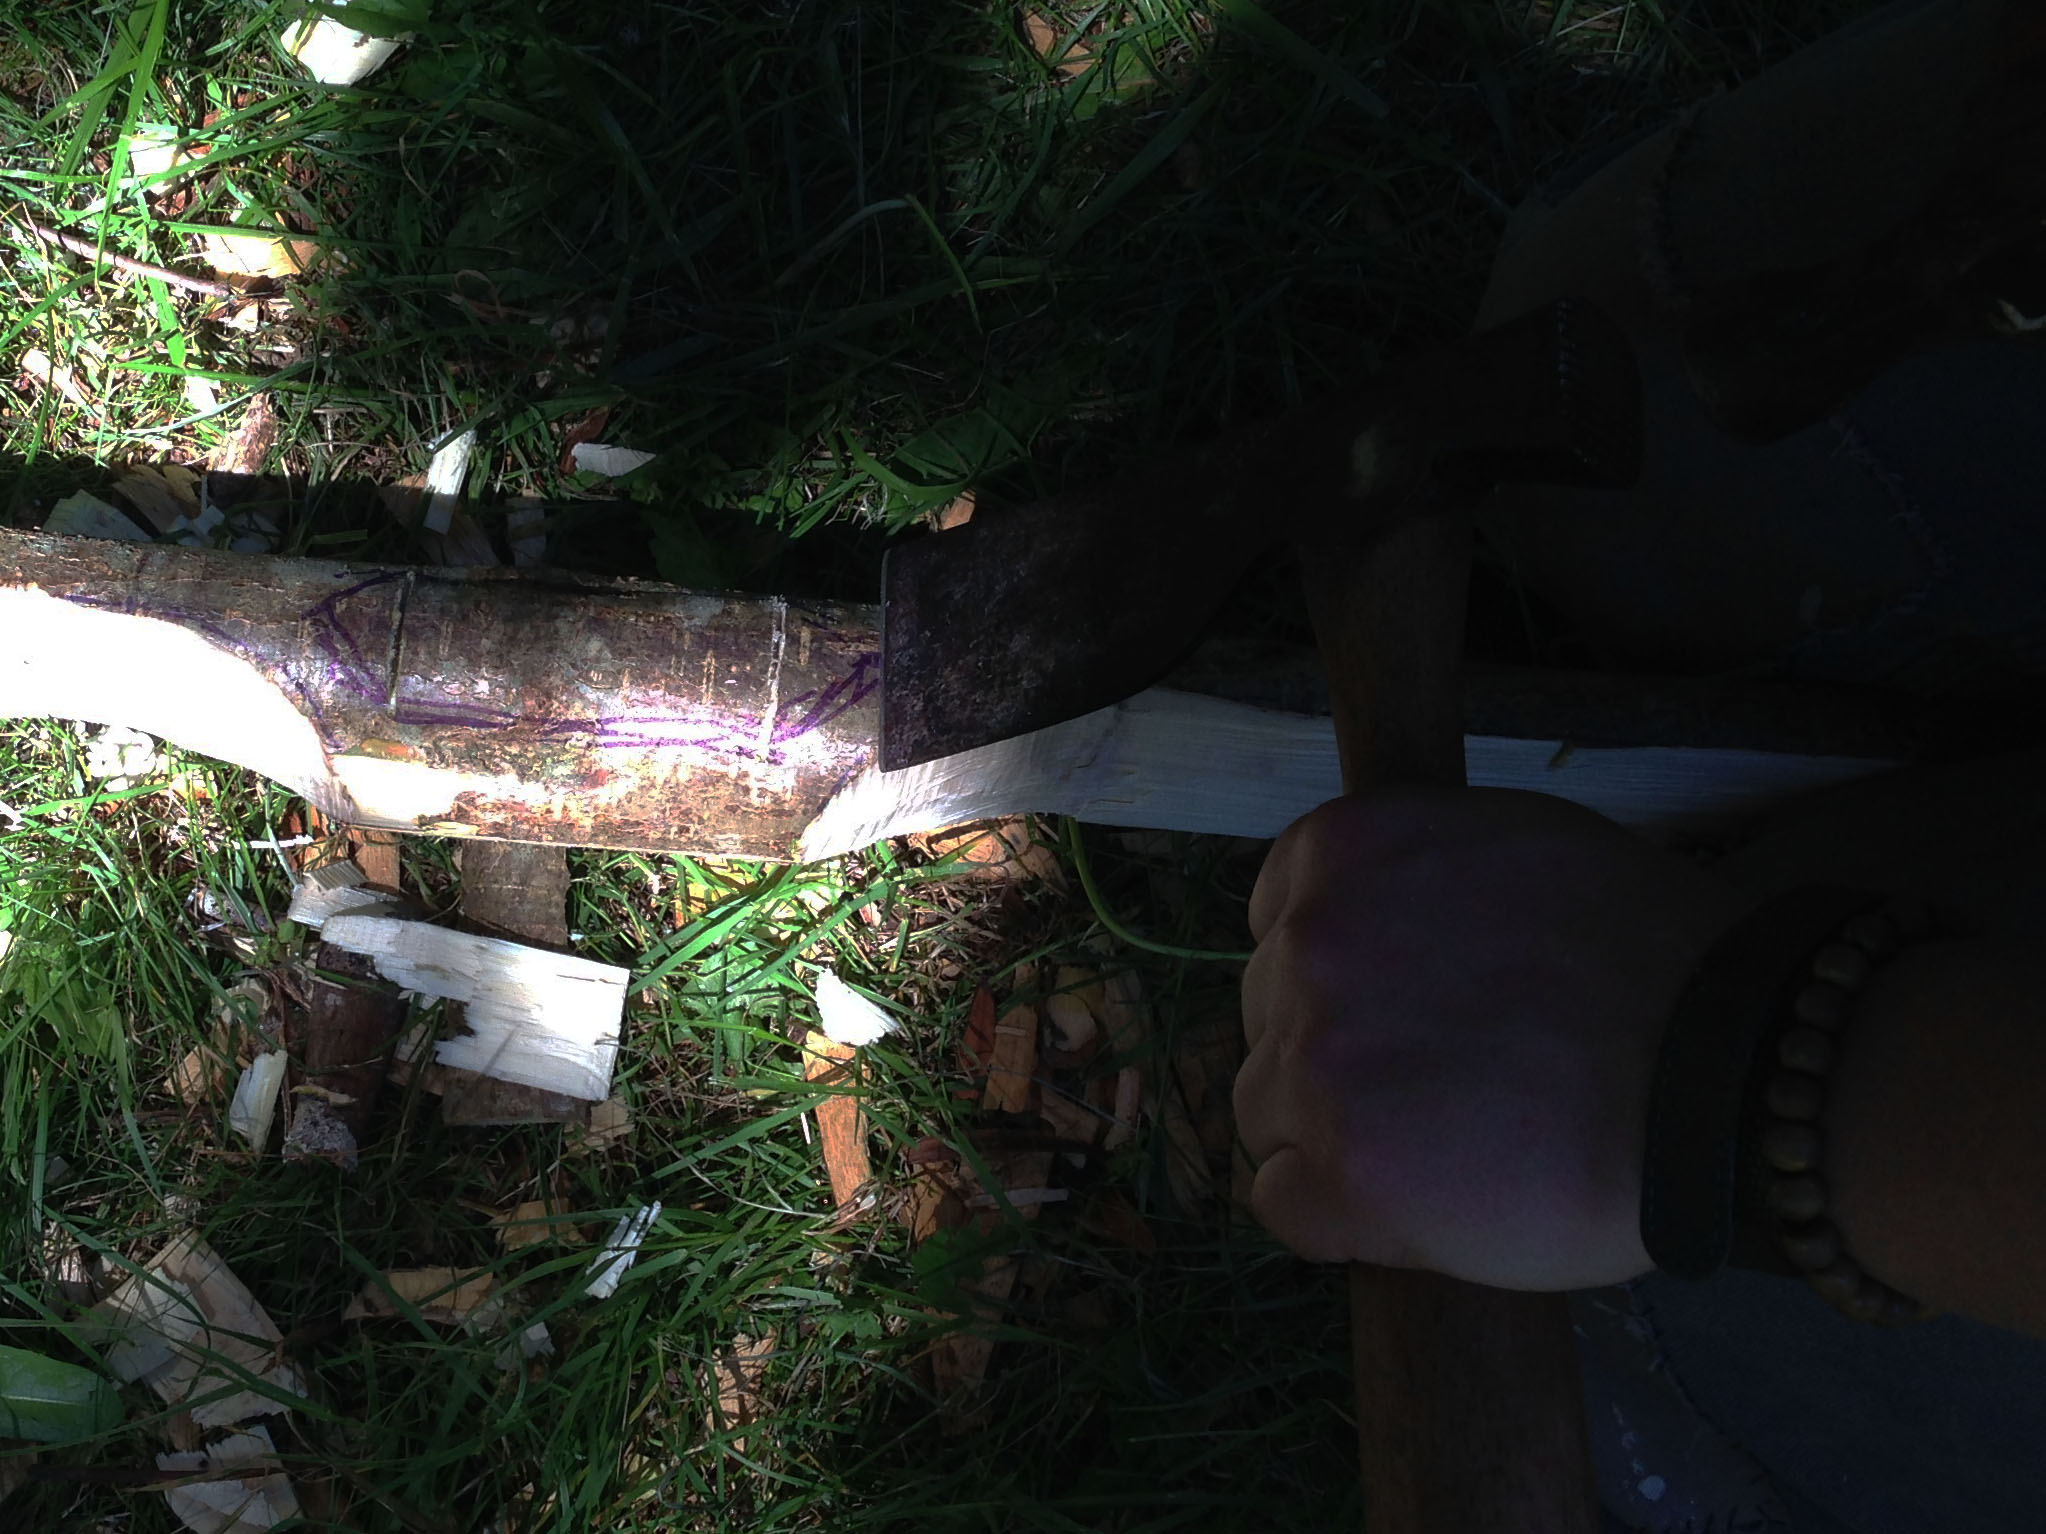
This whole process is done before I let the wood season. If I take out the bulk of the wood now it will dry faster. However, at this stage I am only removing material to thin the limbs, and only to the extent that they just barely start to flex. I don’t want to remove too much material or taper the ends yet, as that will create more potential for warping while drying.
I also believe that taking off material now can help prevent cracking. Much of the cracking that occurs when wood is drying is due to the outer layers drying faster than the inner layers. As the outer wood dries it shrinks while the center is still swollen, causing a crack to form. If the wood has been opened up, it provides a release of pressure and a place for the shrinking to occur without causing a new crack. It also exposes the center, allowing it to dry more evenly in the first place.
Once thinned down I take one final measure to help prevent cracking before drying my stave. I coat the ends with wood glue to slow the loss of moisture. Then I put my stave in an outdoor shed. This is a cool, dark and slightly damp location that starts the drying process slowly. After one week I bring the stave inside and put it in a dark corner for three more weeks. This is usually long enough for a properly thinned down stave to dry before starting to work it into a bow.
That’s all for now. Good luck with your bow-making endeavors!